Starting from seed
Louis Ratchford, Merrifield Plant Specialist
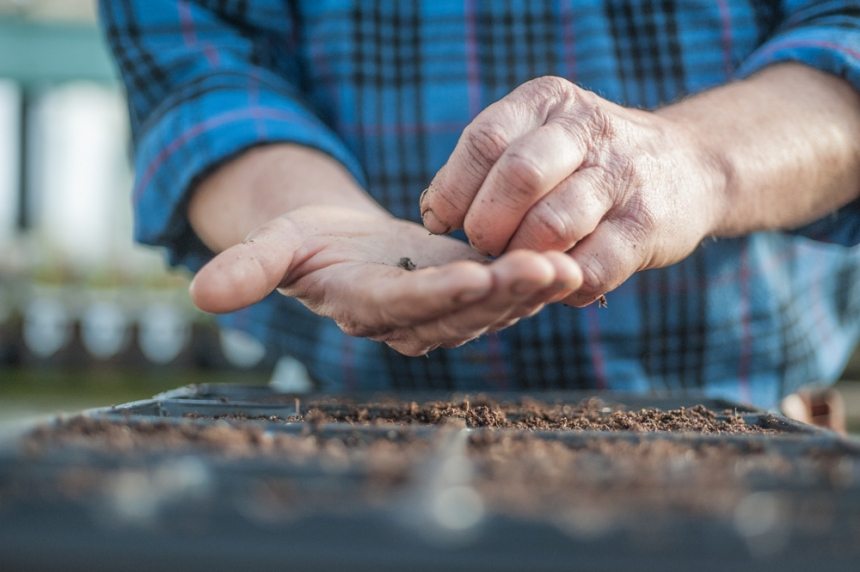
Growing your own plants from seed can be very rewarding! You can get your hands into the dirt in the middle of winter, and enjoy the fruits of your labor when the weather warms.
Step One: Plan your garden
The key to determining when to start your seeds is identifying the average last frost date in your area. You can work backward from this date to determine when to begin your seeds indoors.
To begin, select the crops you’d like to start from seed. Make sure you select seeds that can be sown indoors (some veggies, such as beans, prefer to be sown directly in the ground outdoors as they germinate quickly). I’m beginning with a few flowers, veggies and herbs that tend to be easy to start from seed indoors, such as zinnias, marigolds, tomatoes and peppers.
Step Two: Collect your supplies
You’ll need:
• Containers and trays
• Plastic lid or plastic wrap
• Labeling supplies
• Watering mister
• Seed packets
• A high-quality seed starting media
• Grow light, if necessary
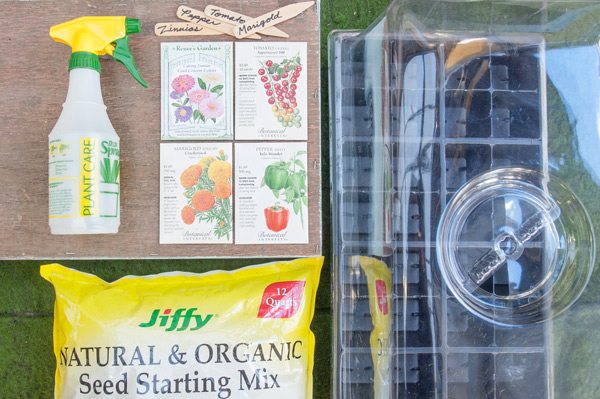
There are many different containers you can use to start seeds, such as seed trays, biodegradable pots, yogurt containers or milk or egg cartons. If you select an item from home, make sure to clean it thoroughly and drill holes in the bottom for drainage. We decided to use seed starting plastic containers and trays as they’re already cleaned, pre-drilled and ready to go.
If you’re using seed trays, pick up one of the plastic covers. This will help retain moisture and increase the humidity during germination. If you’re using at-home containers, plastic wrap can do the trick.
It’s important to use a seed-starting media as it’s lose and lightweight and holds moisture to keep your seeds consistently moist. Avoid using soil from your garden or potting soil as it’s too heavy for delicate seeds.
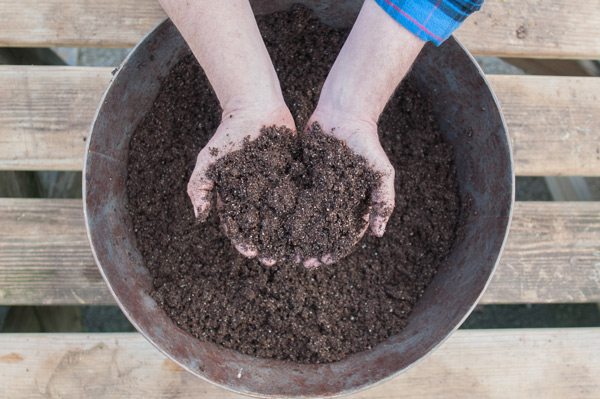
Step Three: Sow your seeds
Place your seed starting medium into a bucket and add water to moisten it until it’s thoroughly damp. The goal is to get it crumbly, not soaking wet.
Fill your seed trays with the soil, pressing it down to eliminate air gaps.
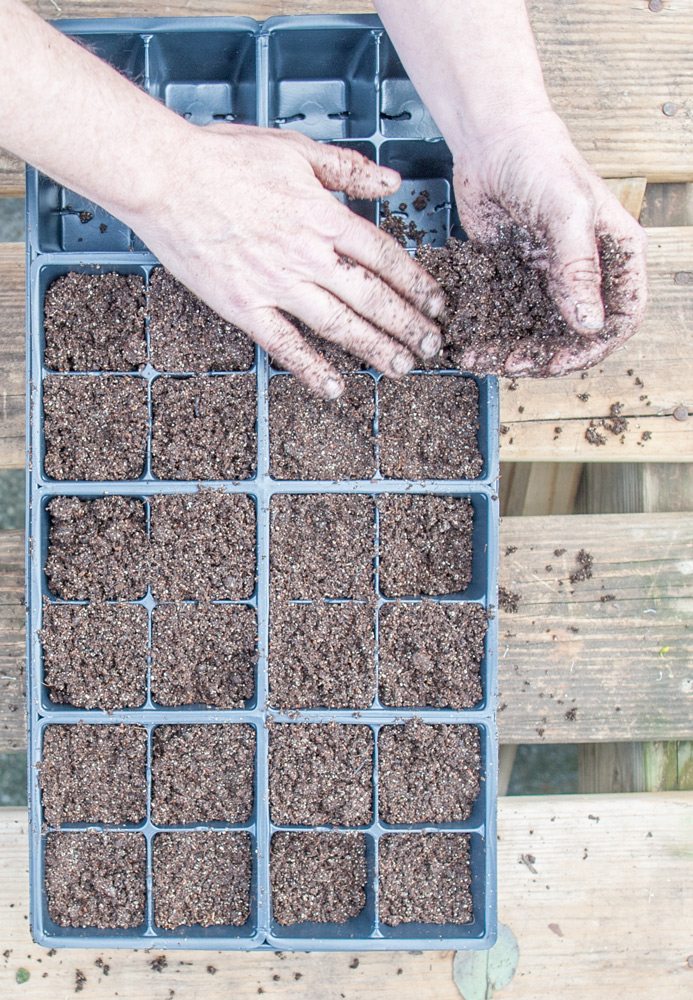
Insert your finger or a pencil into the soil at a depth of two to three times the thickness of the seed in a few places in each cell to make holes. Place one seed in each hole.
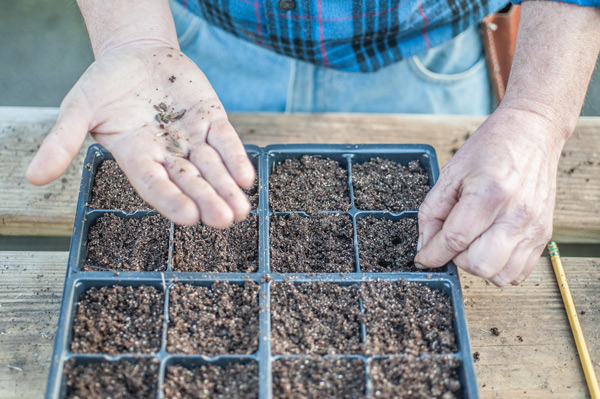
Once you place all of your seeds, cover them with the seed starting media, and then mist with water. As soon as you finish one type of seed, label the tray with the plant name and date. There is nothing more frustrating than forgetting what you planted where and when!
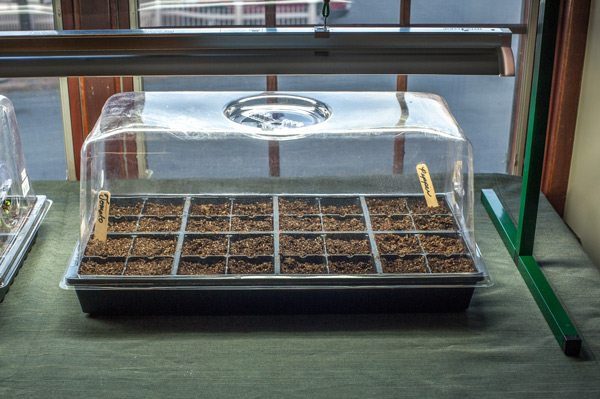
Cover your tray with the plastic cover or plastic wrap and set it under the light source. I don’t have a strong south or east facing window that will naturally produce enough light during the day so I’m using a grow light. For the best growth, seedlings need at least 12 hours of light per day. If seedlings don’t get enough sun, they can grow leggy and weak.
Note: Not all seeds need to be covered with the seed starting media to germinate. Check the seed packet to see how deep to cover your seeds or if your seeds can grow simply on the surface. Whether you cover the seedling with the medium or not, all seeds need direct contact with the seed starting media to germinate.
Step Four: Keep them well-lit and watered
If you’re using a grow light, place it a few inches above the seeds and raise it as they mature. Keep the soil evenly moist by using a mister. Seeds are very sensitive to over and under watering. Heavy watering, with a watering can for example, can disturb the seedling. We recommend checking your seeds for moisture at least once a day.
Seeds germinate when the soil temperature is between 65 and 75 degrees F. If you’re starting your seedlings in a garage, potting shed or basement that might not be temperature controlled, use a heating mat or space heater to keep the tray warm. If you’re using one of these heat sources, check the moisture level more frequently as they can dry out the soil more quickly.
Once your seeds sprout, remove the plastic cover and heating source, if used, and set them aside for next time.

