Tag Archive for: Orchid

Orchid, Greenhouse

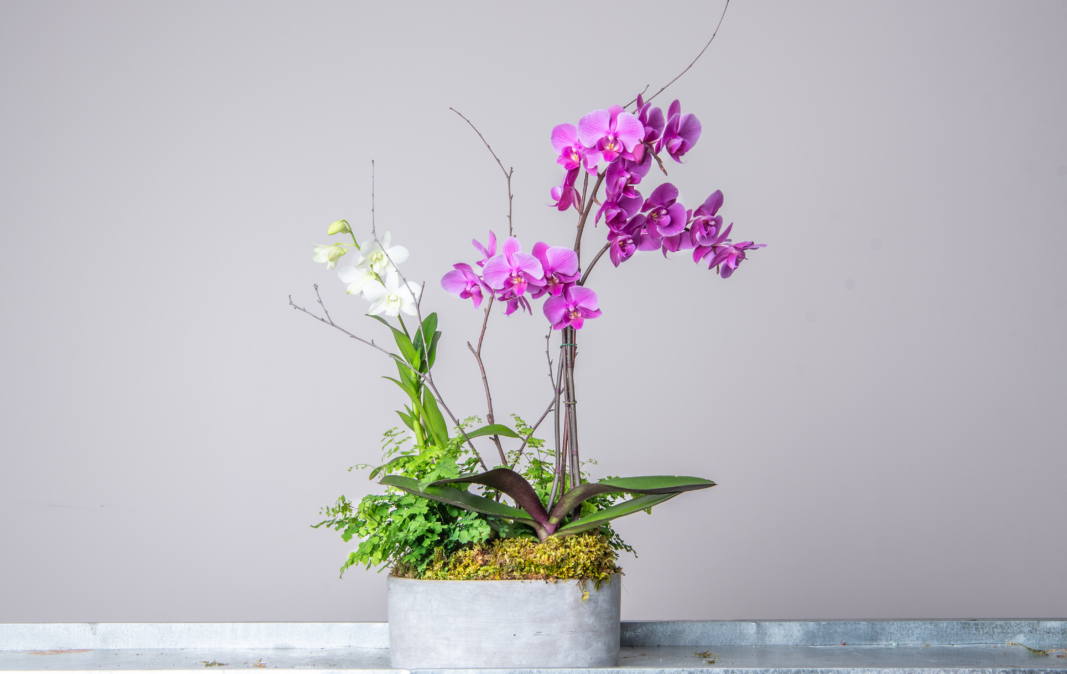
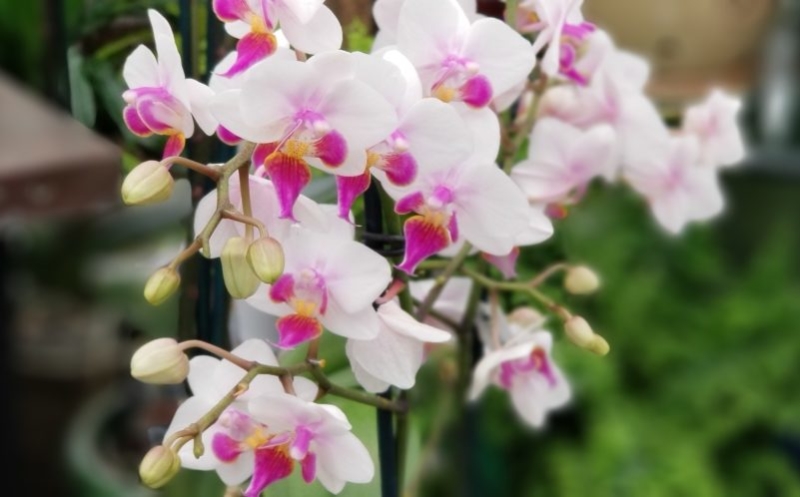
Orchid Repotting Made Easy

This post was originally published in January 2018.

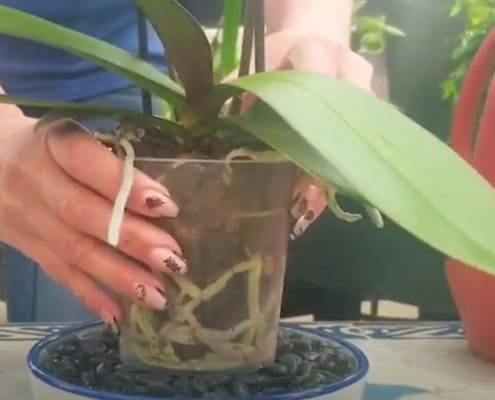
Many people are intimidated by the process of repotting orchids, but it is actually quite easy to do with the correct materials. We’ve got your step-by-step directions right here, complete with recommended materials. Check out the video to learn more.

DIY Potted Orchid Garden

As elegant greenhouse plants, orchids and ferns thrive year-round, and make the perfect plants for garden fresh arrangements. Elegant and timeless, they can be used for any occasion, or just to bring a fresh update to your home at any time of the year. These arrangements are simple to make in just a few steps, and with a little care and attention, anyone can keep an orchid and fern garden for years to come.

To create this arrangement, here is what you will need:

Supply List

For a centerpiece arrangement

  • Decorative vessel – approximately 10 inches in diameter
  • 1 or 2 orchids in 4 inch pots
  • Two assorted ferns in 4” pots (we used maidenhair ferns) 

For a grand entryway arrangement

  • Decorative vessel – approximately 20 inches in diameter
  • 2 orchids in 4 inch pots
  • 1 orchid in a 6 inch pot
  • 3 ferns in 4 inch pots

For both centerpiece and grand entryway arrangements

  • Moss to cover your orchid and fern grow pots (we used preserved sheet moss)
  • Branches (we used white birch)
  • Raffia or wire to tie the orchid to the support branches
  • Floral foil or heavy-duty aluminum foil
  • One block of sahara foam and a knife to cut it
  • Pruners
  • Spray bottle or small watering can

Step One: Prepare Your Vessel

Select a vessel that is about five inches deep to cover the orchid and fern grow pots. You can select any container meeting that requirement that suits your taste, and matches the decor of the location where it will be placed. After selecting a vessel, line the interior with floral foil or heavy-duty aluminum foil to protect the container.

Step Two: Arrange your Orchids and Ferns

Place the orchids slightly off-center, leaving them in their grow pots, to give your arrangement a more natural look. Afterwards, place the ferns in their grow pots around the orchids, angling them away from the orchids to fill the space around the perimeter and hide the orchid pots. Leaving the orchids and ferns in their respective pots allows each to be watered according to their individual requirements. 

Step Three: Cut and Place Sahara as Needed

If the container is deeper than the height of the potted orchids and ferns, place sahara under the pots to raise them to the desired height. After this is done, fill in any voids between the individual pots with sahara to stabilize the arrangement, and hold it firmly in place.

Step Four: Prepare and place the moss

Lightly spray the moss with water, and arrange it in the display. Dampening the moss makes it easier to manipulate and arrange, and also prevents it from making a mess. The moss serves as a beautiful way to cover the ‘mechanics’ of the garden, including grow pots, sahara and empty space between the orchids and ferns. 

Step Five: Add Branches for Support

Not only do branches add drama to garden arrangements, they also help support the heavy orchid blooms. Place your branches in the orchid pots and tie them to the stems of your orchids using rafia or wire.

Caring for Your Potted Orchid Garden

For best results, keep your potted orchid garden in bright, indirect light.

Water each type of plant in your orchid garden according to the individual care instructions for that plant. The ferns, for example, will prefer a thorough watering a few times a week, depending on the time of year. Orchids generally prefer a thorough watering about every two weeks. 

For additional information, check out some of our previous blog posts such as orchid care for beginners and the basics of caring for houseplants.

If you make your own Potted Orchid Garden using these instructions, we would love to see it! Please share on Instagram and tag @merrifieldgardencenter for a chance to be featured on our page

Orchid

Orchid Care for Beginners

Perhaps one of the most well-known houseplants, people love orchids for their elegant beauty and long-lasting blooms. These plants have a reputation as an intimidating plant for advanced gardeners only, but with a little extra knowledge, anyone can help their orchid thrive. If you are an orchid beginner, we recommend starting with the Phalaenopsis orchid. This is one of the best orchids to grow as a houseplant since it thrives at average household temperatures, and it does very well sitting on a windowsill. These plants can bloom 2 to 3 times per year after they are established.

Orchid, Greenhouse Plant

Light

Phalaenopsis orchids need about 3 to 4 hours of either morning or late afternoon light. An eastern facing window works best, but a shaded south or west facing window work as well. If you are having trouble getting your plant to rebloom, increase the amount of light it receives by removing shade, placing it closer to the window, or supplementing its light with a grow light placed 8 to 12 inches above its foliage. You will know your plant is receiving too much light if it’s leaves become red-tinged.

Orchid Potting Medium

Water

When purchasing your plant, determine whether your orchid is planted in moss or bark. Water your orchids only when they are nearly dry, but do not allow them to dry out. As a general rule of thumb, when the plant is in bark, water every 7 to 10 days. When it is in moss, water ever 10 to 14 days. To prevent rot, water your plants in the morning so that the leaves are dry by the evening. Orchids also love humidity, so you can place them on a humidity tray or a tray of gravel partially filled with water to create a more humid atmosphere around them.

Orchid Fertilizer

Fertilizer

If your plant is growing in a bark-based media, a high nitrogen fertilizer (30-10-10) is a good option. We recommend using a blossom booster fertilizer (10-30-20), which gives a better bud count when it comes to bloom time for orchids.

Orchid on Windowsill

Temperature

Place your orchid on a windowsill for a good temperature differential between day and night. This encourages rebloom. One of the primary reasons our customers are not able to get their orchids to bloom a second time is a lack of cooler air in the evenings. While this temperature difference is great for the plants when initiating blooms, once the buds form and the plant is ready to bloom, you should move it away from the window as temperature differentials can cause already formed buds to drop.

Orchid

Flowering and Repotting

After your Phalaenopsis orchid finished blooming, cut the stem back to the third node from the base of the stalk. A new flower spike should emerge in a few months. The moss and bark materials that orchids grow in break down over time, so you should repot your orchid every 2 to 3 years in the spring, or in the fall after it finishes blooming. You will know your orchid needs repotting when the medium breaks down and begins to look like dirt, or when the roots begin to show at the top of the pot.

Streptocarpus, Greenhouse

5 Flowering Houseplants to Brighten Up Your Winter

It’s cold outside, and in the middle of winter many of us find ourselves spending more time looking out our windows at a garden fast asleep. This season can be a peaceful time, but if you are longing for a vibrant pop of color to break up the drab browns and grays of the season, consider adding any of these blooming houseplants to your space.

African Violet, Greenhouse

African Violet

With long-lasting flowers that appear year-round, the colorful African violet is an easy-to-grow choice for anyone looking to add some color to their home. Flowers come in white, pink, purple or blue, and some may be bi-color or variegated.

  • Light: Bright, indirect light. Also grows well under a fluorescent light when it has enough exposure.
  • Humidity: Place your plants on a tray of moist pebbles or under your humidifier during the dry winter months.
  • Water: Let them dry out a little between watering. Use temperate water to prevent spotting on the leaves (as we like to say, no one likes a cold shower).

Streptocarpus

A member of the same family as the African violet, Streptocarpus is similar in appearance and has many of the same qualities. With blooms coming in a variety of colors in sprays above the foliage, anyone can add this plant to their home for a pop of color in the winter.

  • Light: Morning or soft afternoon light is best for Streptocarpus
  • Humidity: This plant is well suited to normal house conditions.
  • Water: Let the plant dry a bit between waterings, and water with lukewarm or tepid water.

Bromeliad

These bold, tropical plants develop flower spikes in a wide range of sizes, shapes and colors that bloom freely throughout the year. Bromeliads have no stem – instead, their leaves form a tight rosette which collects water for the leaves to absorb. Their roots are used primarily for anchoring to surfaces, since nutrients can be absorbed through the leaves.

  • Light: Most prefer either bright indirect light or several hours of direct sun.
  • Humidity: Place your plant on a tray of moist pebbles or under your humidifier during the dry winter months.
  • Water: The rosette needs to remain full of water. Empty the rosette periodically to prevent the water from becoming stale. Roots should be kept moderately moist as we
Begonia, Greenhouse

Begonia

You can find these showy plants in bloom at just about any time of year. With glossy, round leaves and blooms that can be as large as 2 inches across, this is a great flower to introduce vibrant color into any home during the winter season.

  • Light: Prefer bright, indirect light.
  • Humidity: Plants need good air circulation to prevent diseases.
  • Water: Keep the soil moist, but not soggy, when plants are in flower. Allow to dry slightly between waterings.

Orchid

With beautiful blooms that can last for weeks, orchids are a classic favorite among houseplants. Intricate blooms come in a seemingly endless variety of colors, sizes and shapes.

  • Light: Prefer bright, indirect light. If needed, place under a fluorescent grow bulb.
  • Humidity: Orchids need between 50% and 70% humidity. To achieve this, you can either place the plant on a tray of gravel filled partially with water or mist the plants. Just be sure to mist them in the morning so that the leaves are dry by night time.
  • Water: Orchids are very sensitive to overwatering and are often planted in coarse, very well drained bark, moss or potting mix. Water only when the ground media begins to feel slightly dry, and then water thoroughly.

Tag Archive for: Orchid