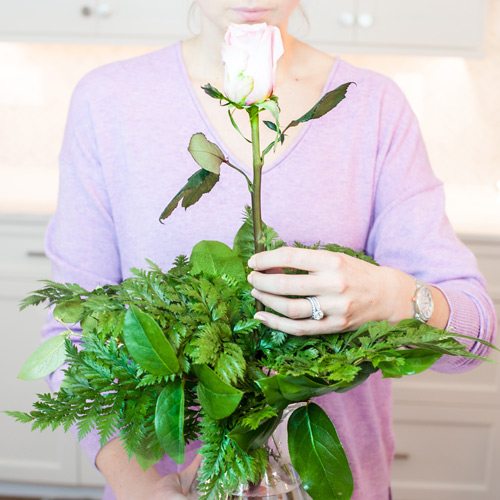
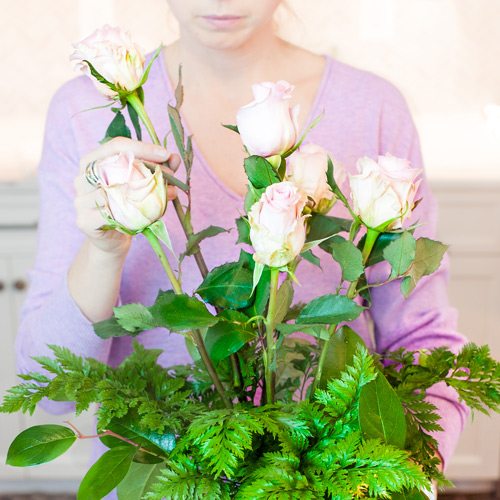
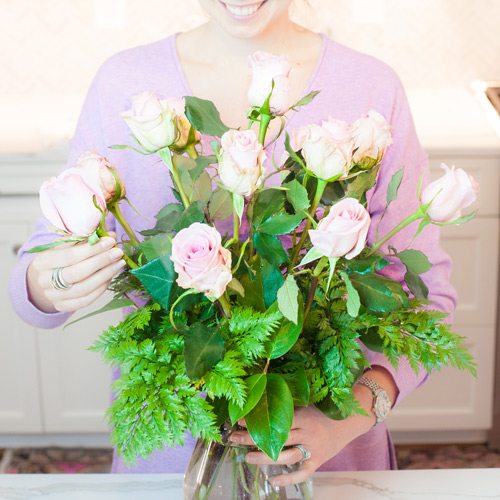
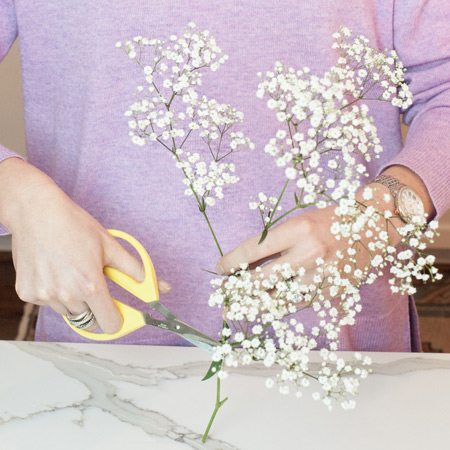
Valentines from the Greenhouse
Shirley Hennessy, Merrifield Plant Specialist
This Valentine’s Day we’re giving blooming gifts from the greenhouse. Here are our gardener’s picks for romantic, exotic and contemporary options for your valentine.
Romantic
 |
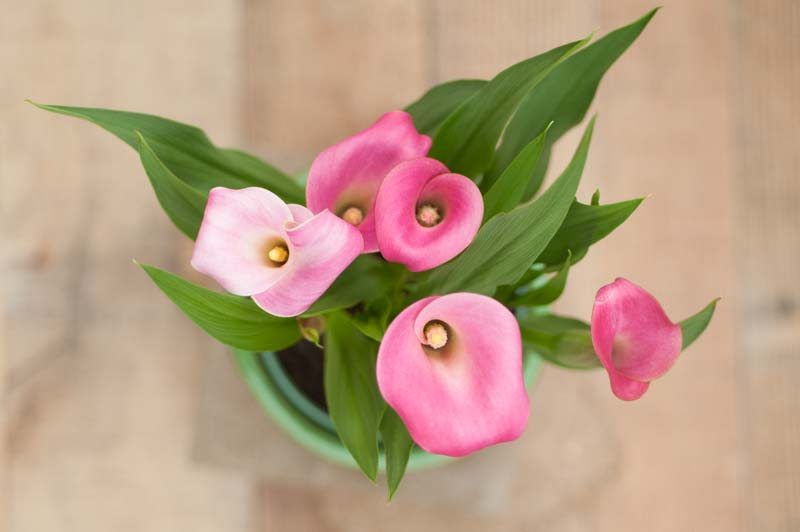
Calla lily
From the Greek word for beauty, the calla lily is an elegant selection for any friend or loved one. The calla lily can be enjoyed indoors throughout the winter and then transplanted into the garden once the risk of frost has passed. Select a location with sun and good drainage and these striking bulbs will bring blooms throughout the spring and summer.
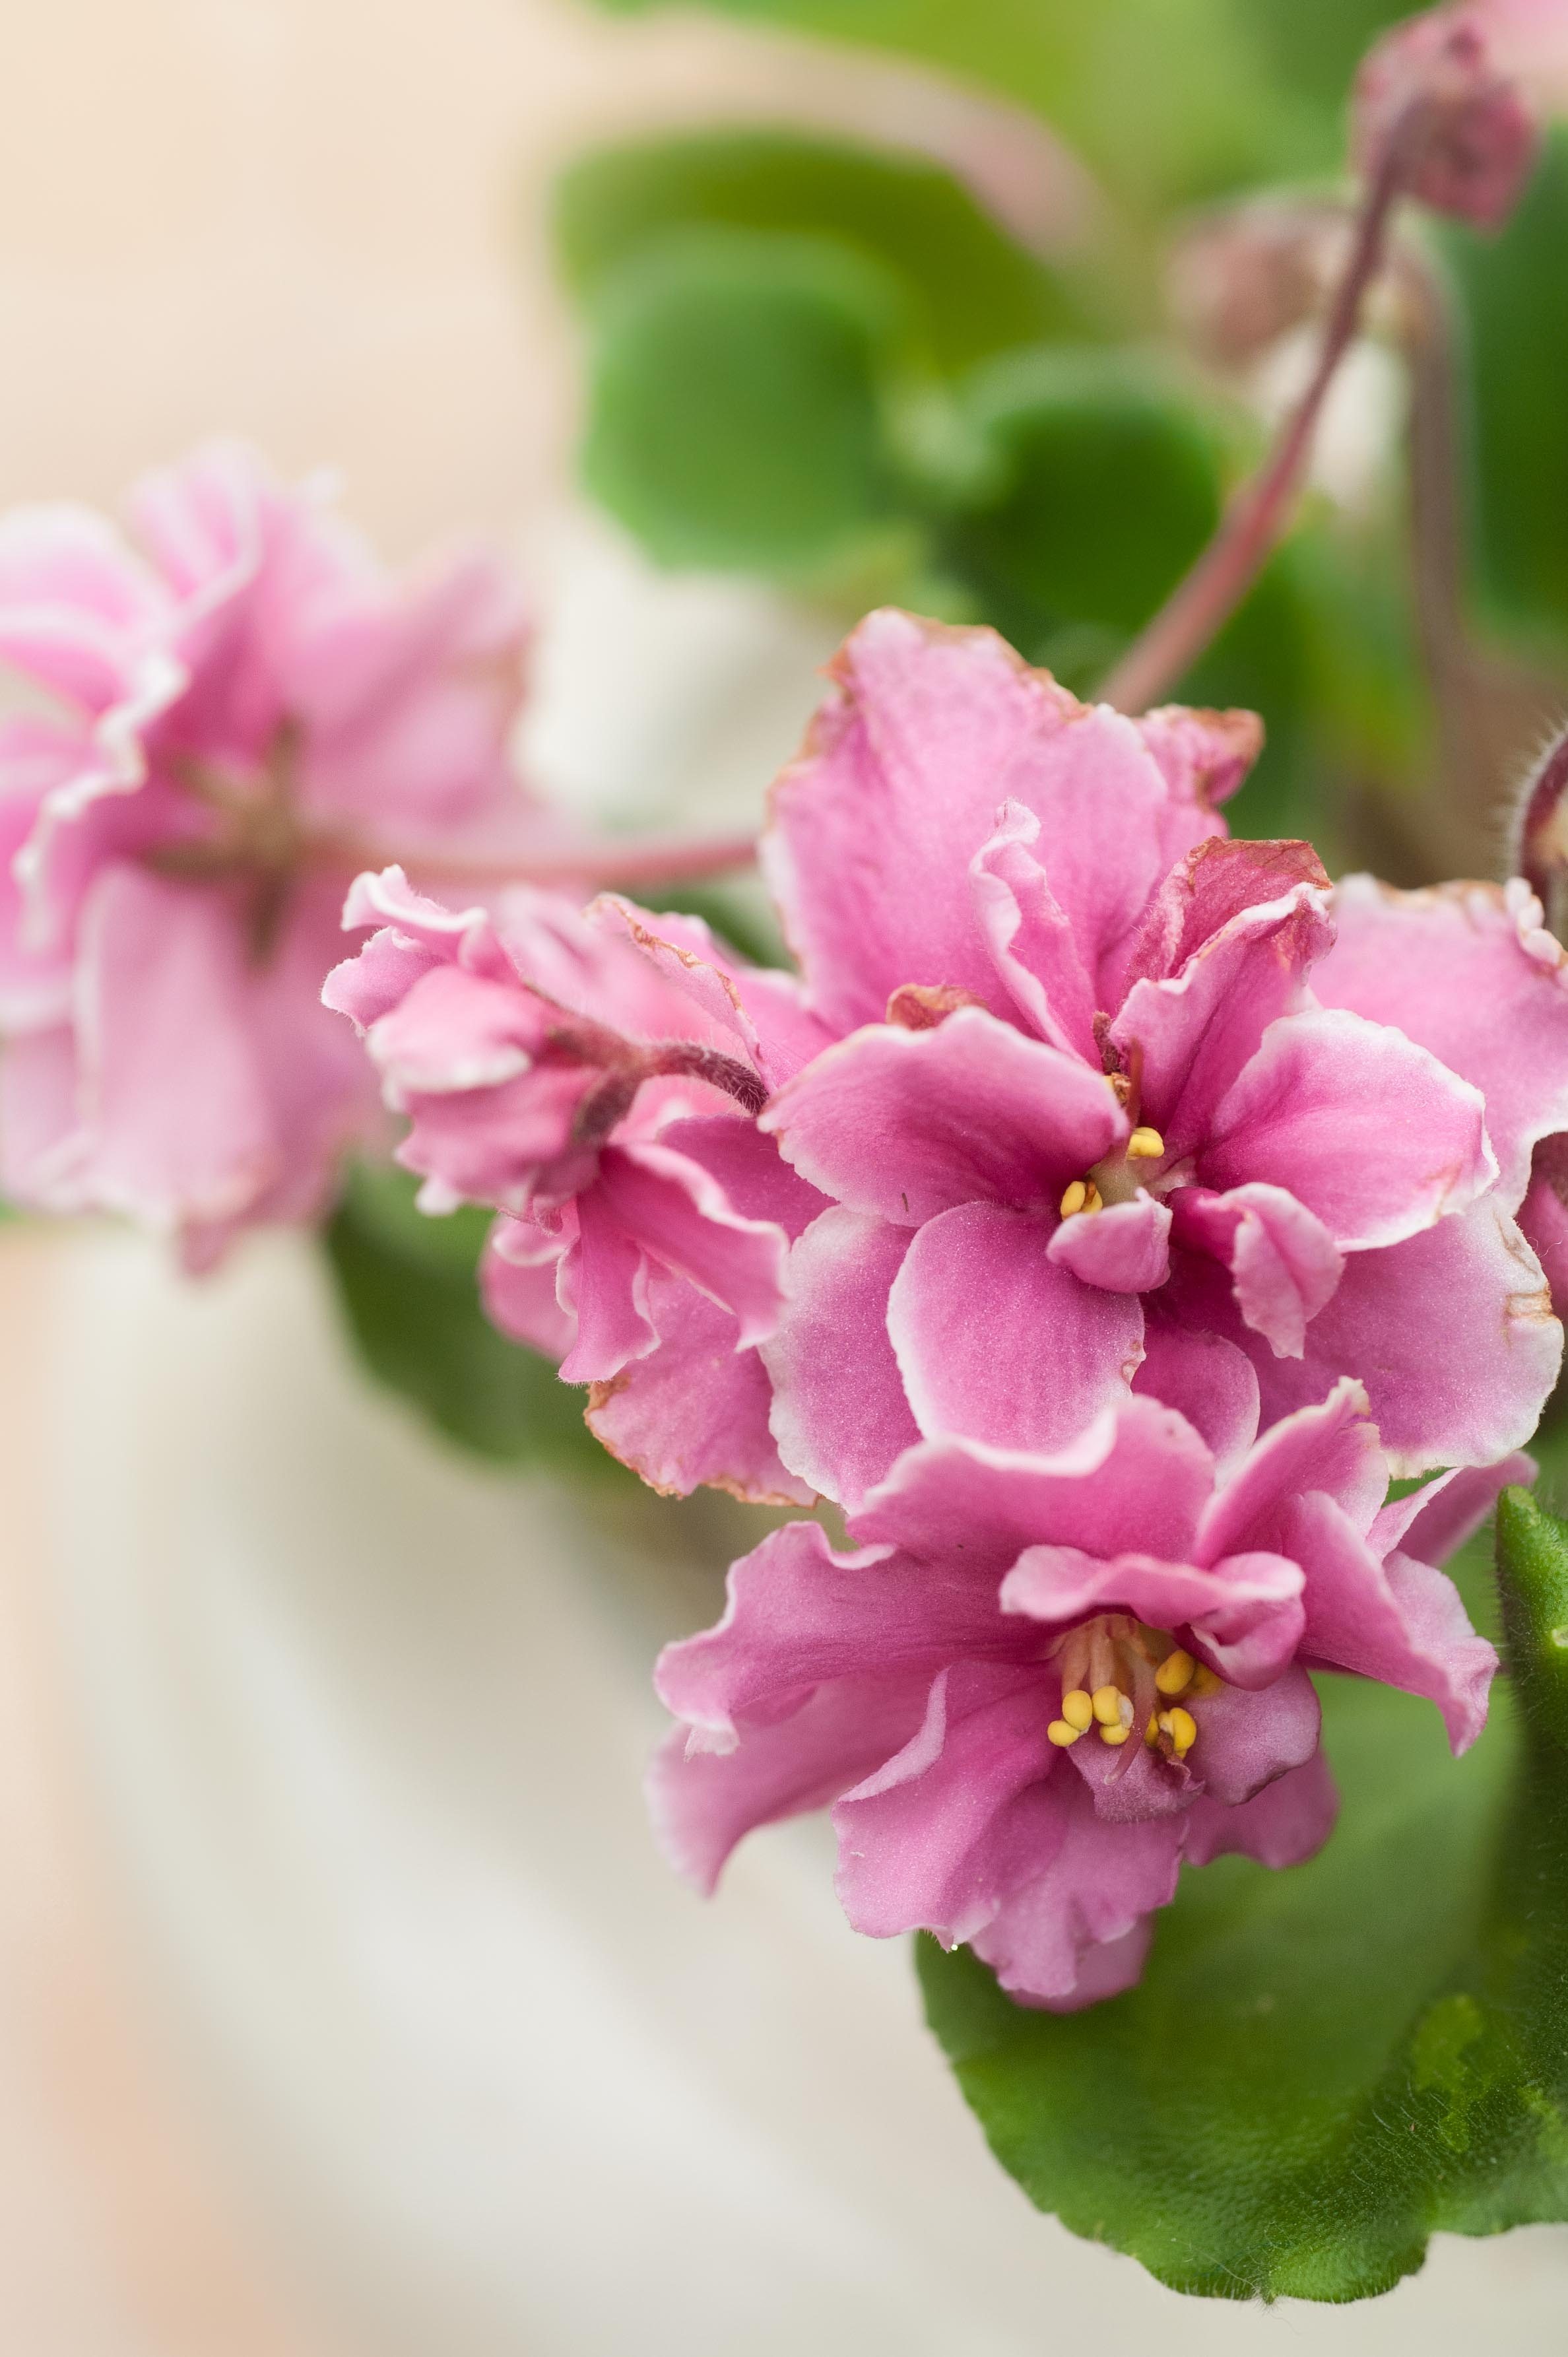 |
African violets
With beautiful blooms perched above fuzzy, dark green foliage, this tropical flowering houseplant can provide color to any home or office. African violets come in many shades of purple, blue, pink, white and variegated and will flower almost constantly. Place them in a north-facing window, keep the soil consistently moist with room temperature water, and feed regularly to maximize blooms.
Exotic
 |
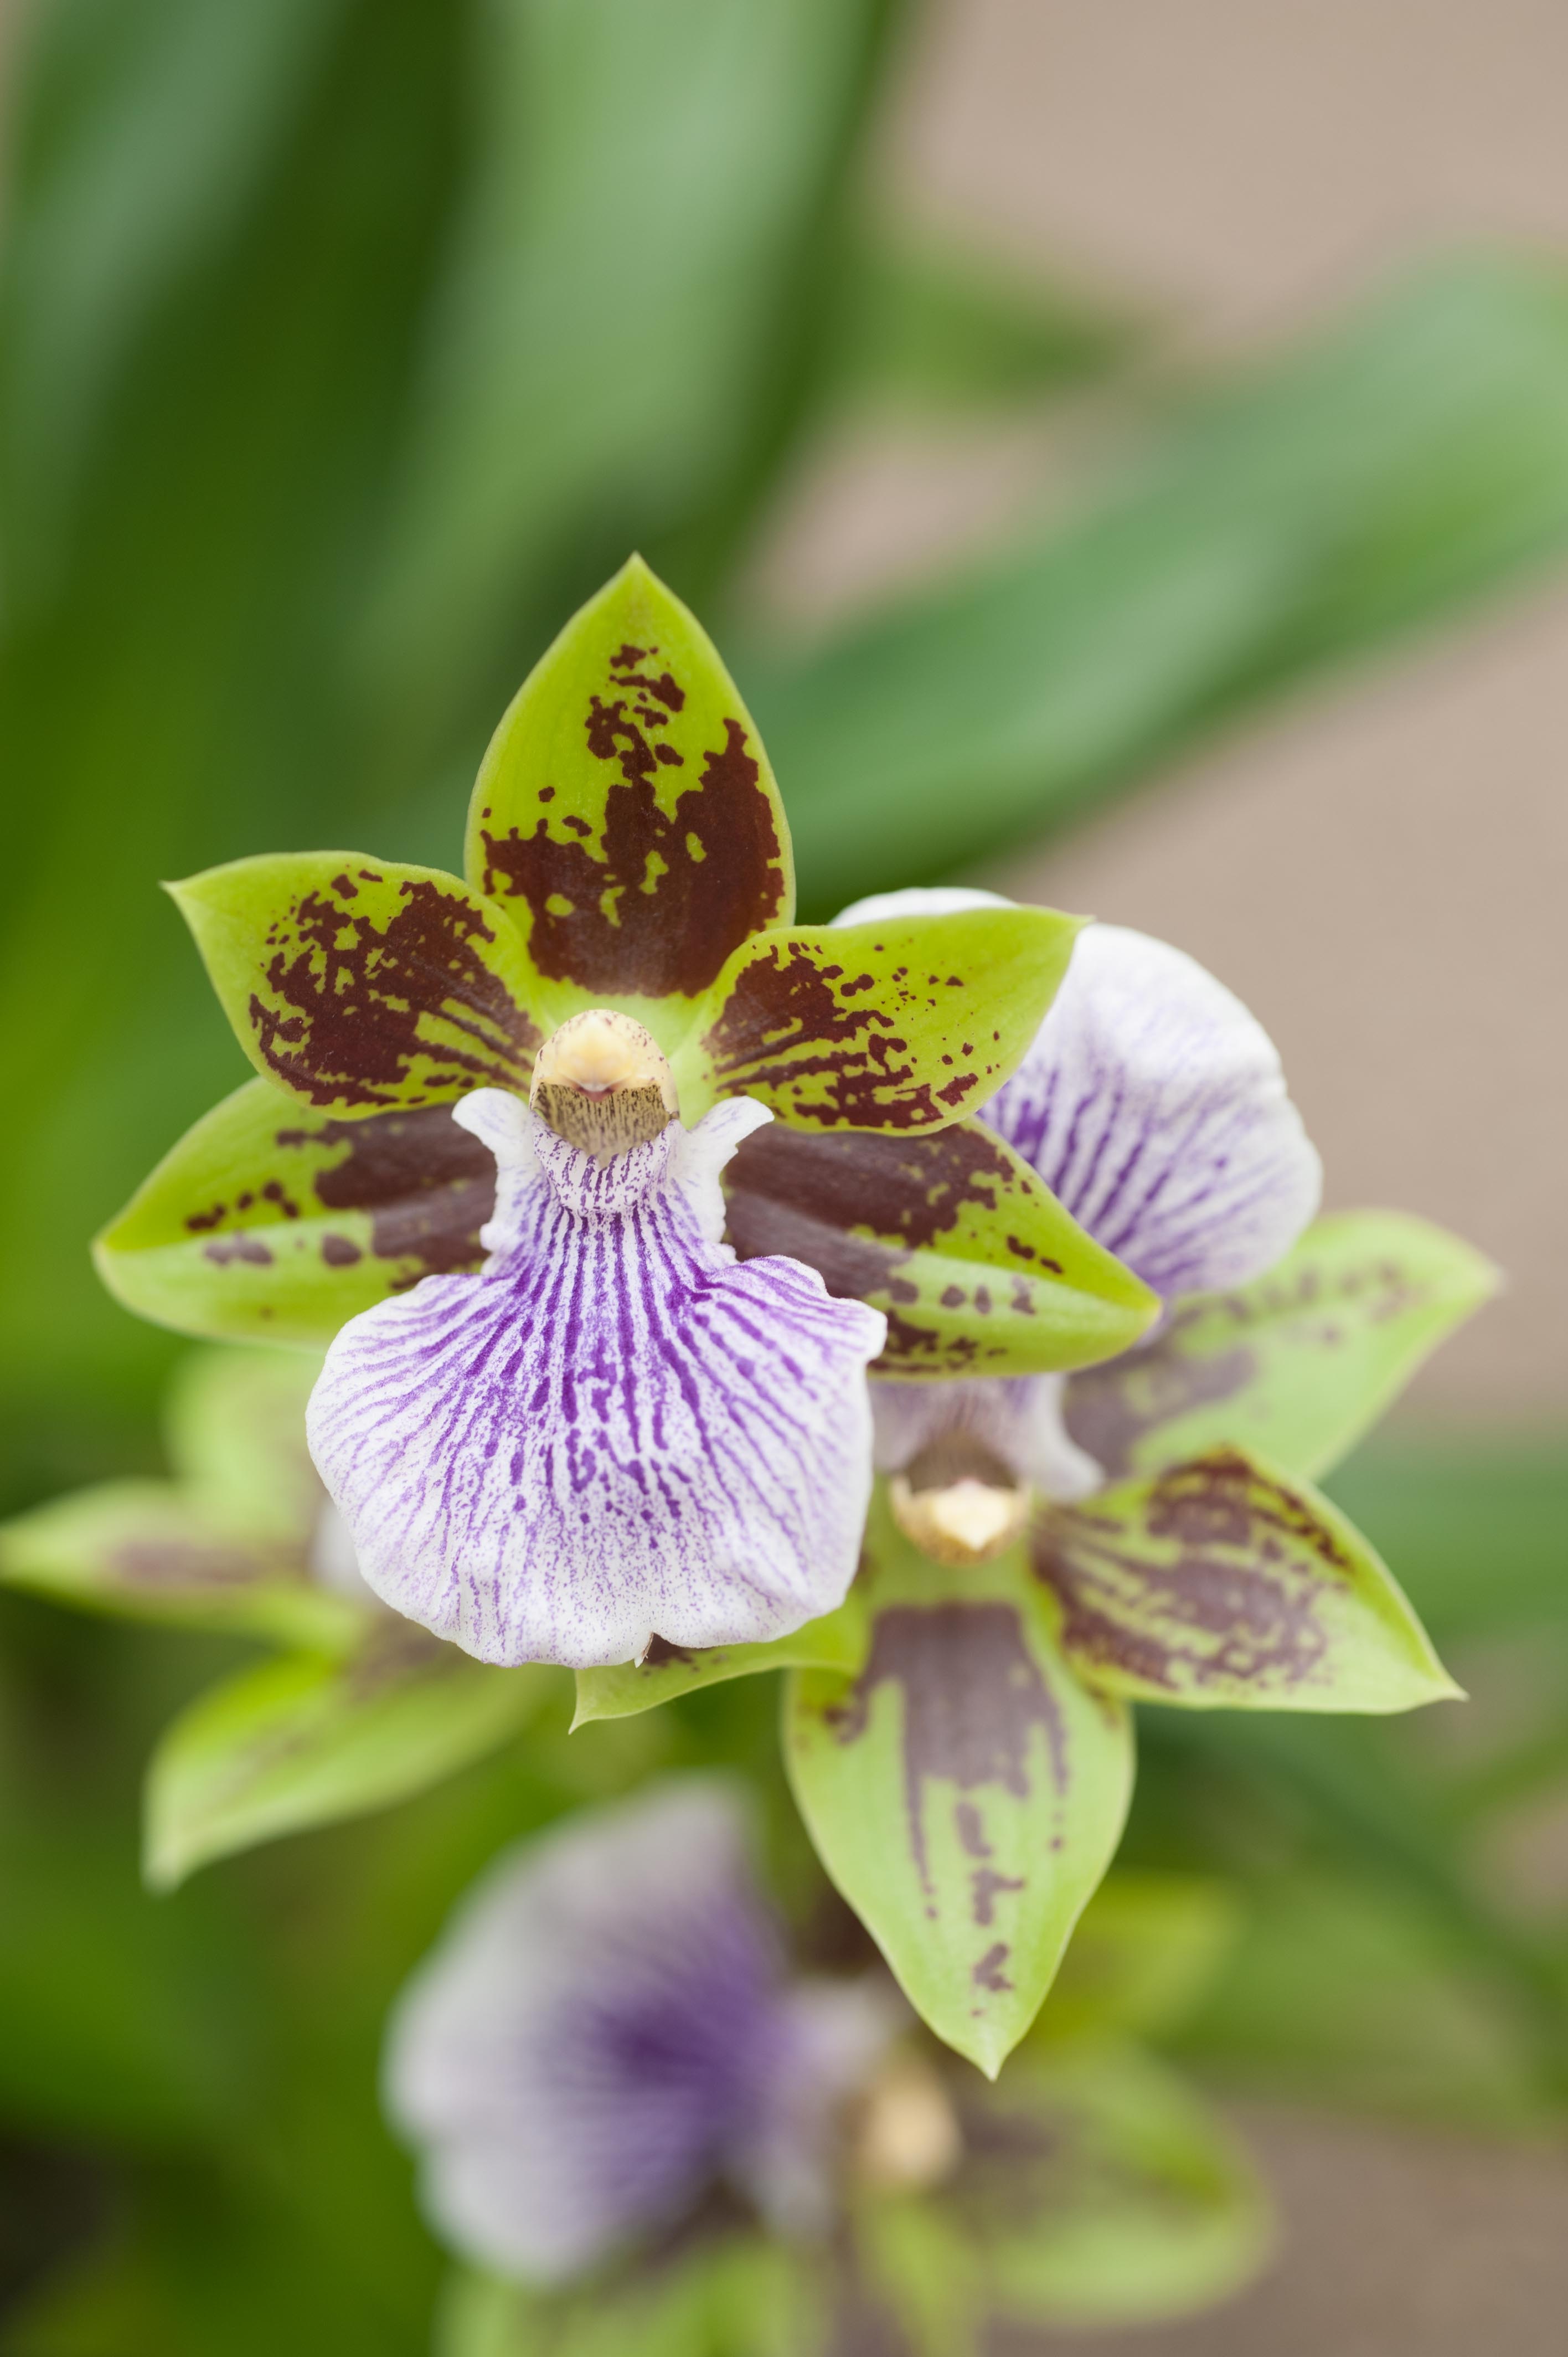 |
Orchids
With delicate flowers that appear to float in the air, orchids are one of the largest plant families. Commonly mistaken as difficult to grow, there are many varieties that will thrive in the light conditions of an average bright windowsill. Orchids have adapted to survive for long periods of time without water and prefer a pot and potting medium with good air circulation to dry out slightly between waterings.
 |
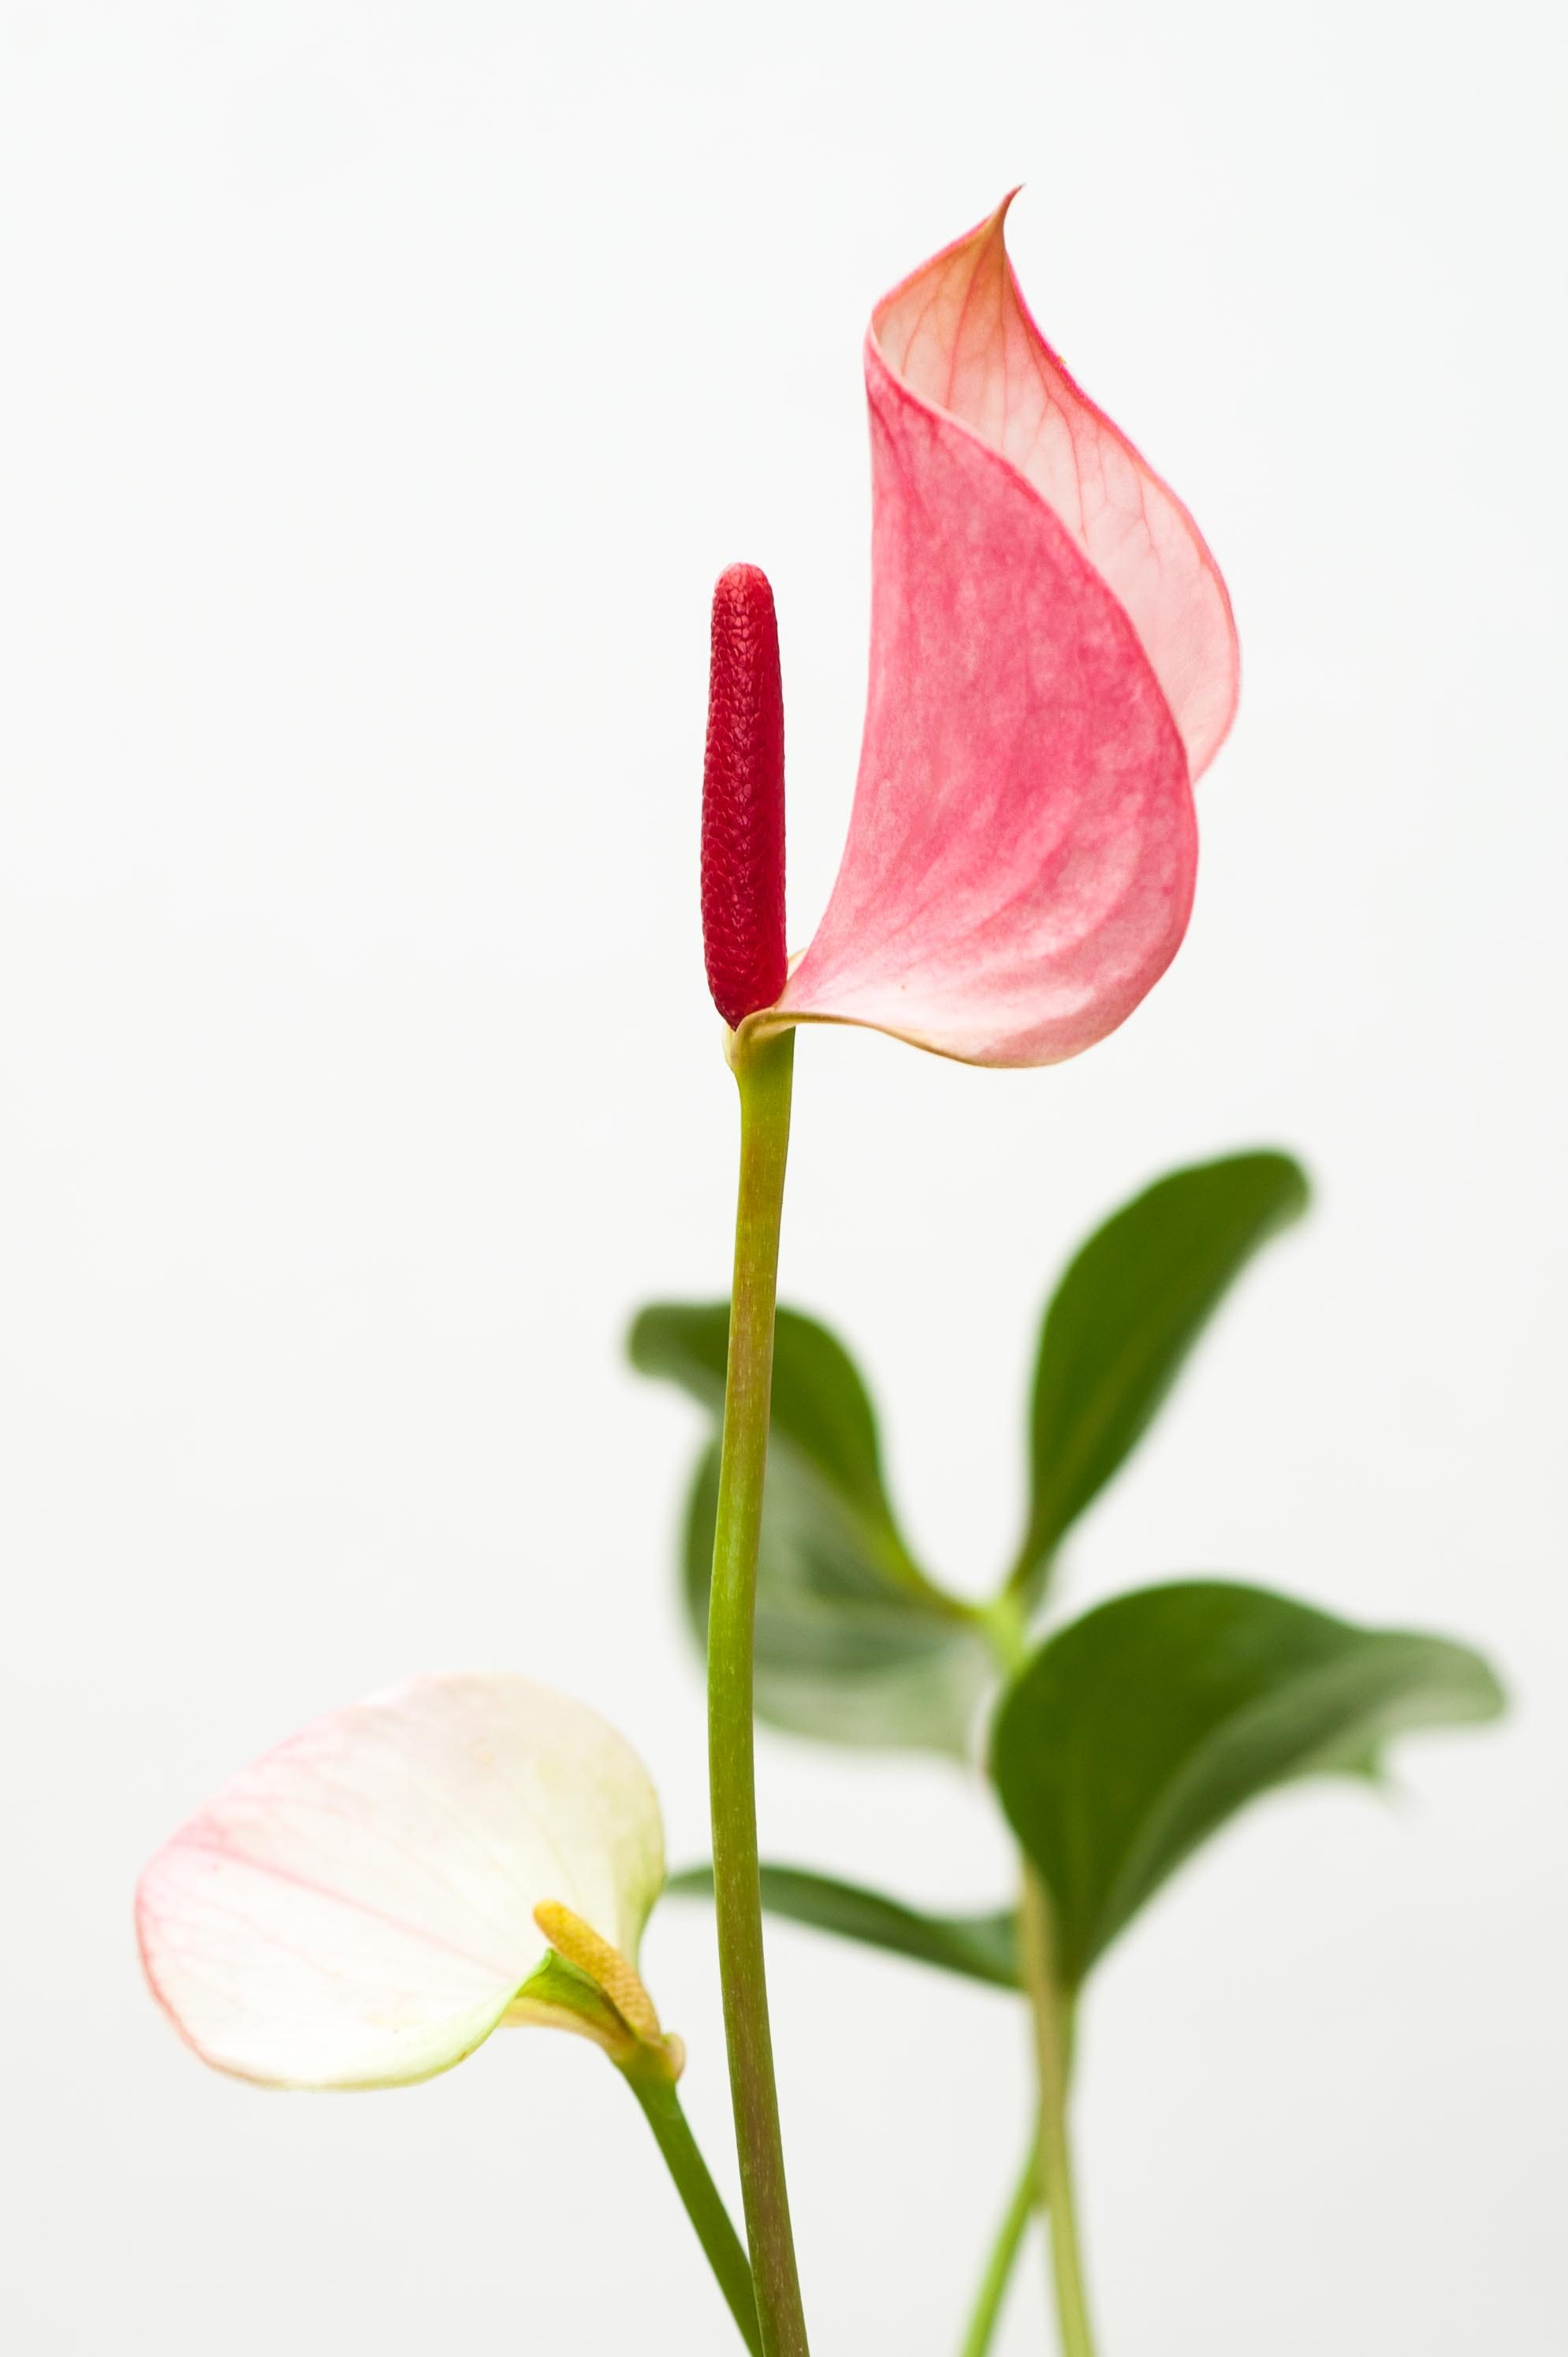 |
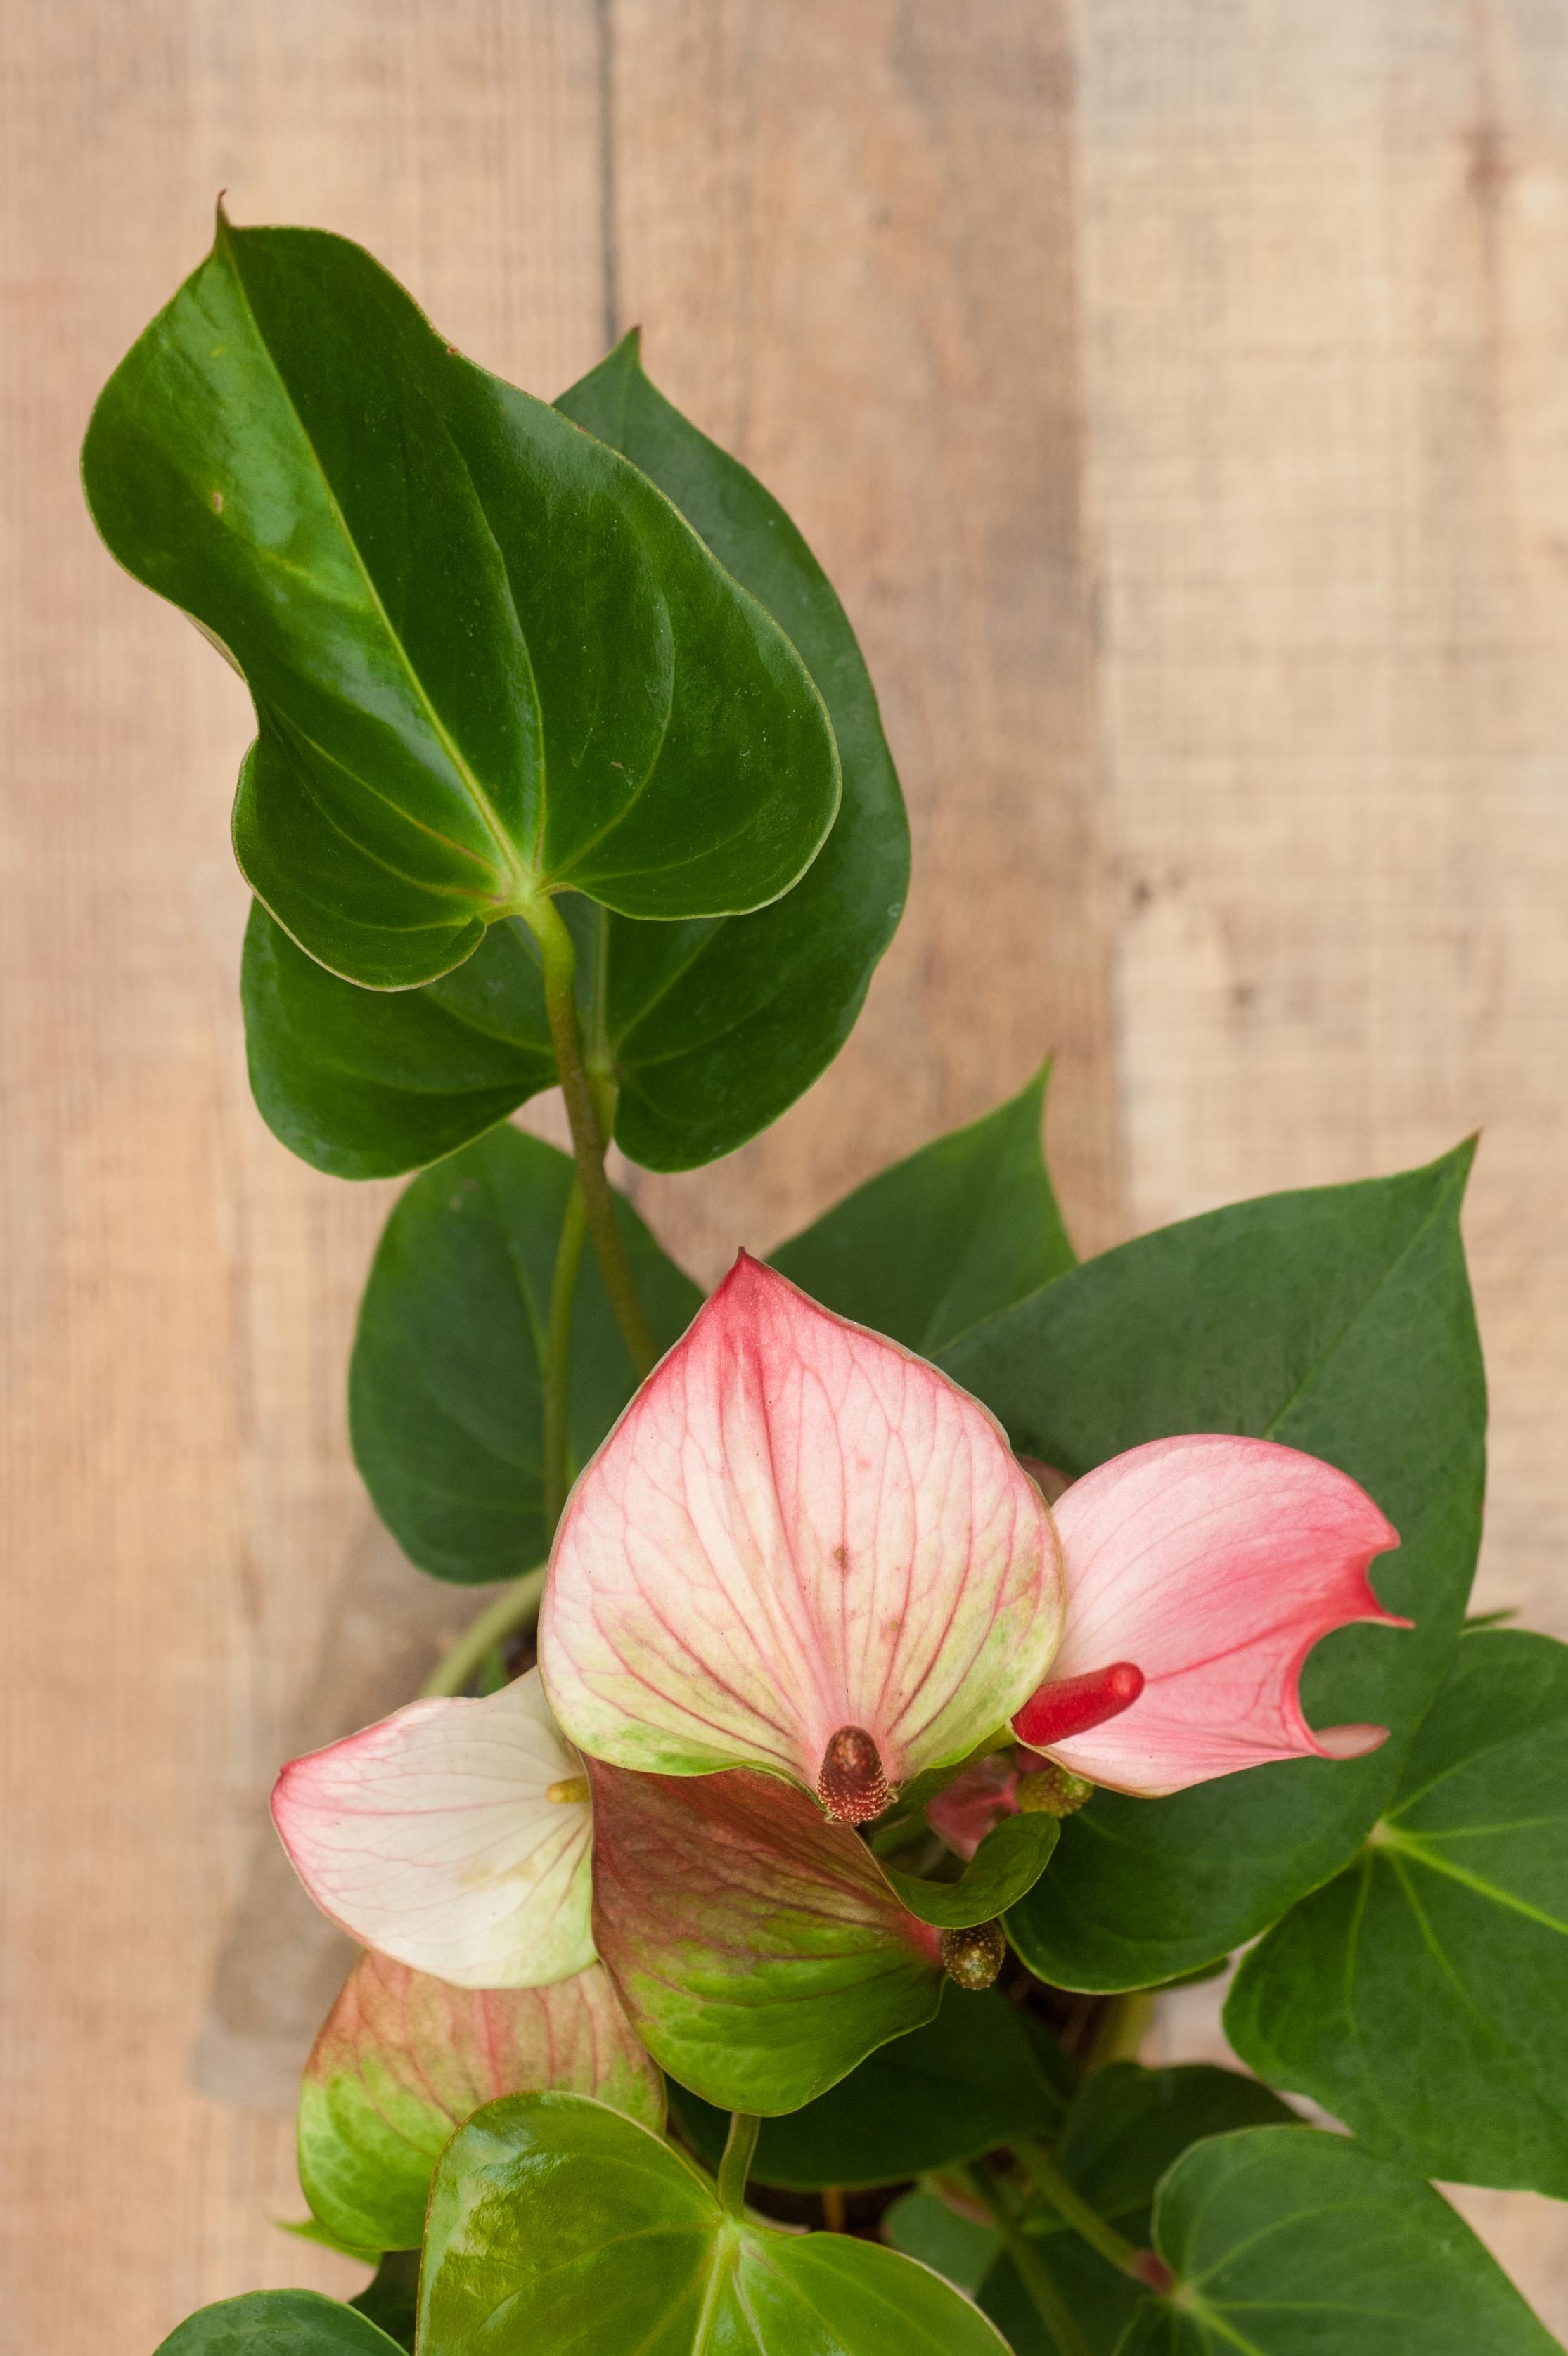
Anthurium
Its heart-shaped flowers and glossy color make anthurium a beautiful selection for your valentine. This tropical houseplant is low maintenance, requires bright light and will live for years to come as long as it’s not overwatered.
Contemporary
 |
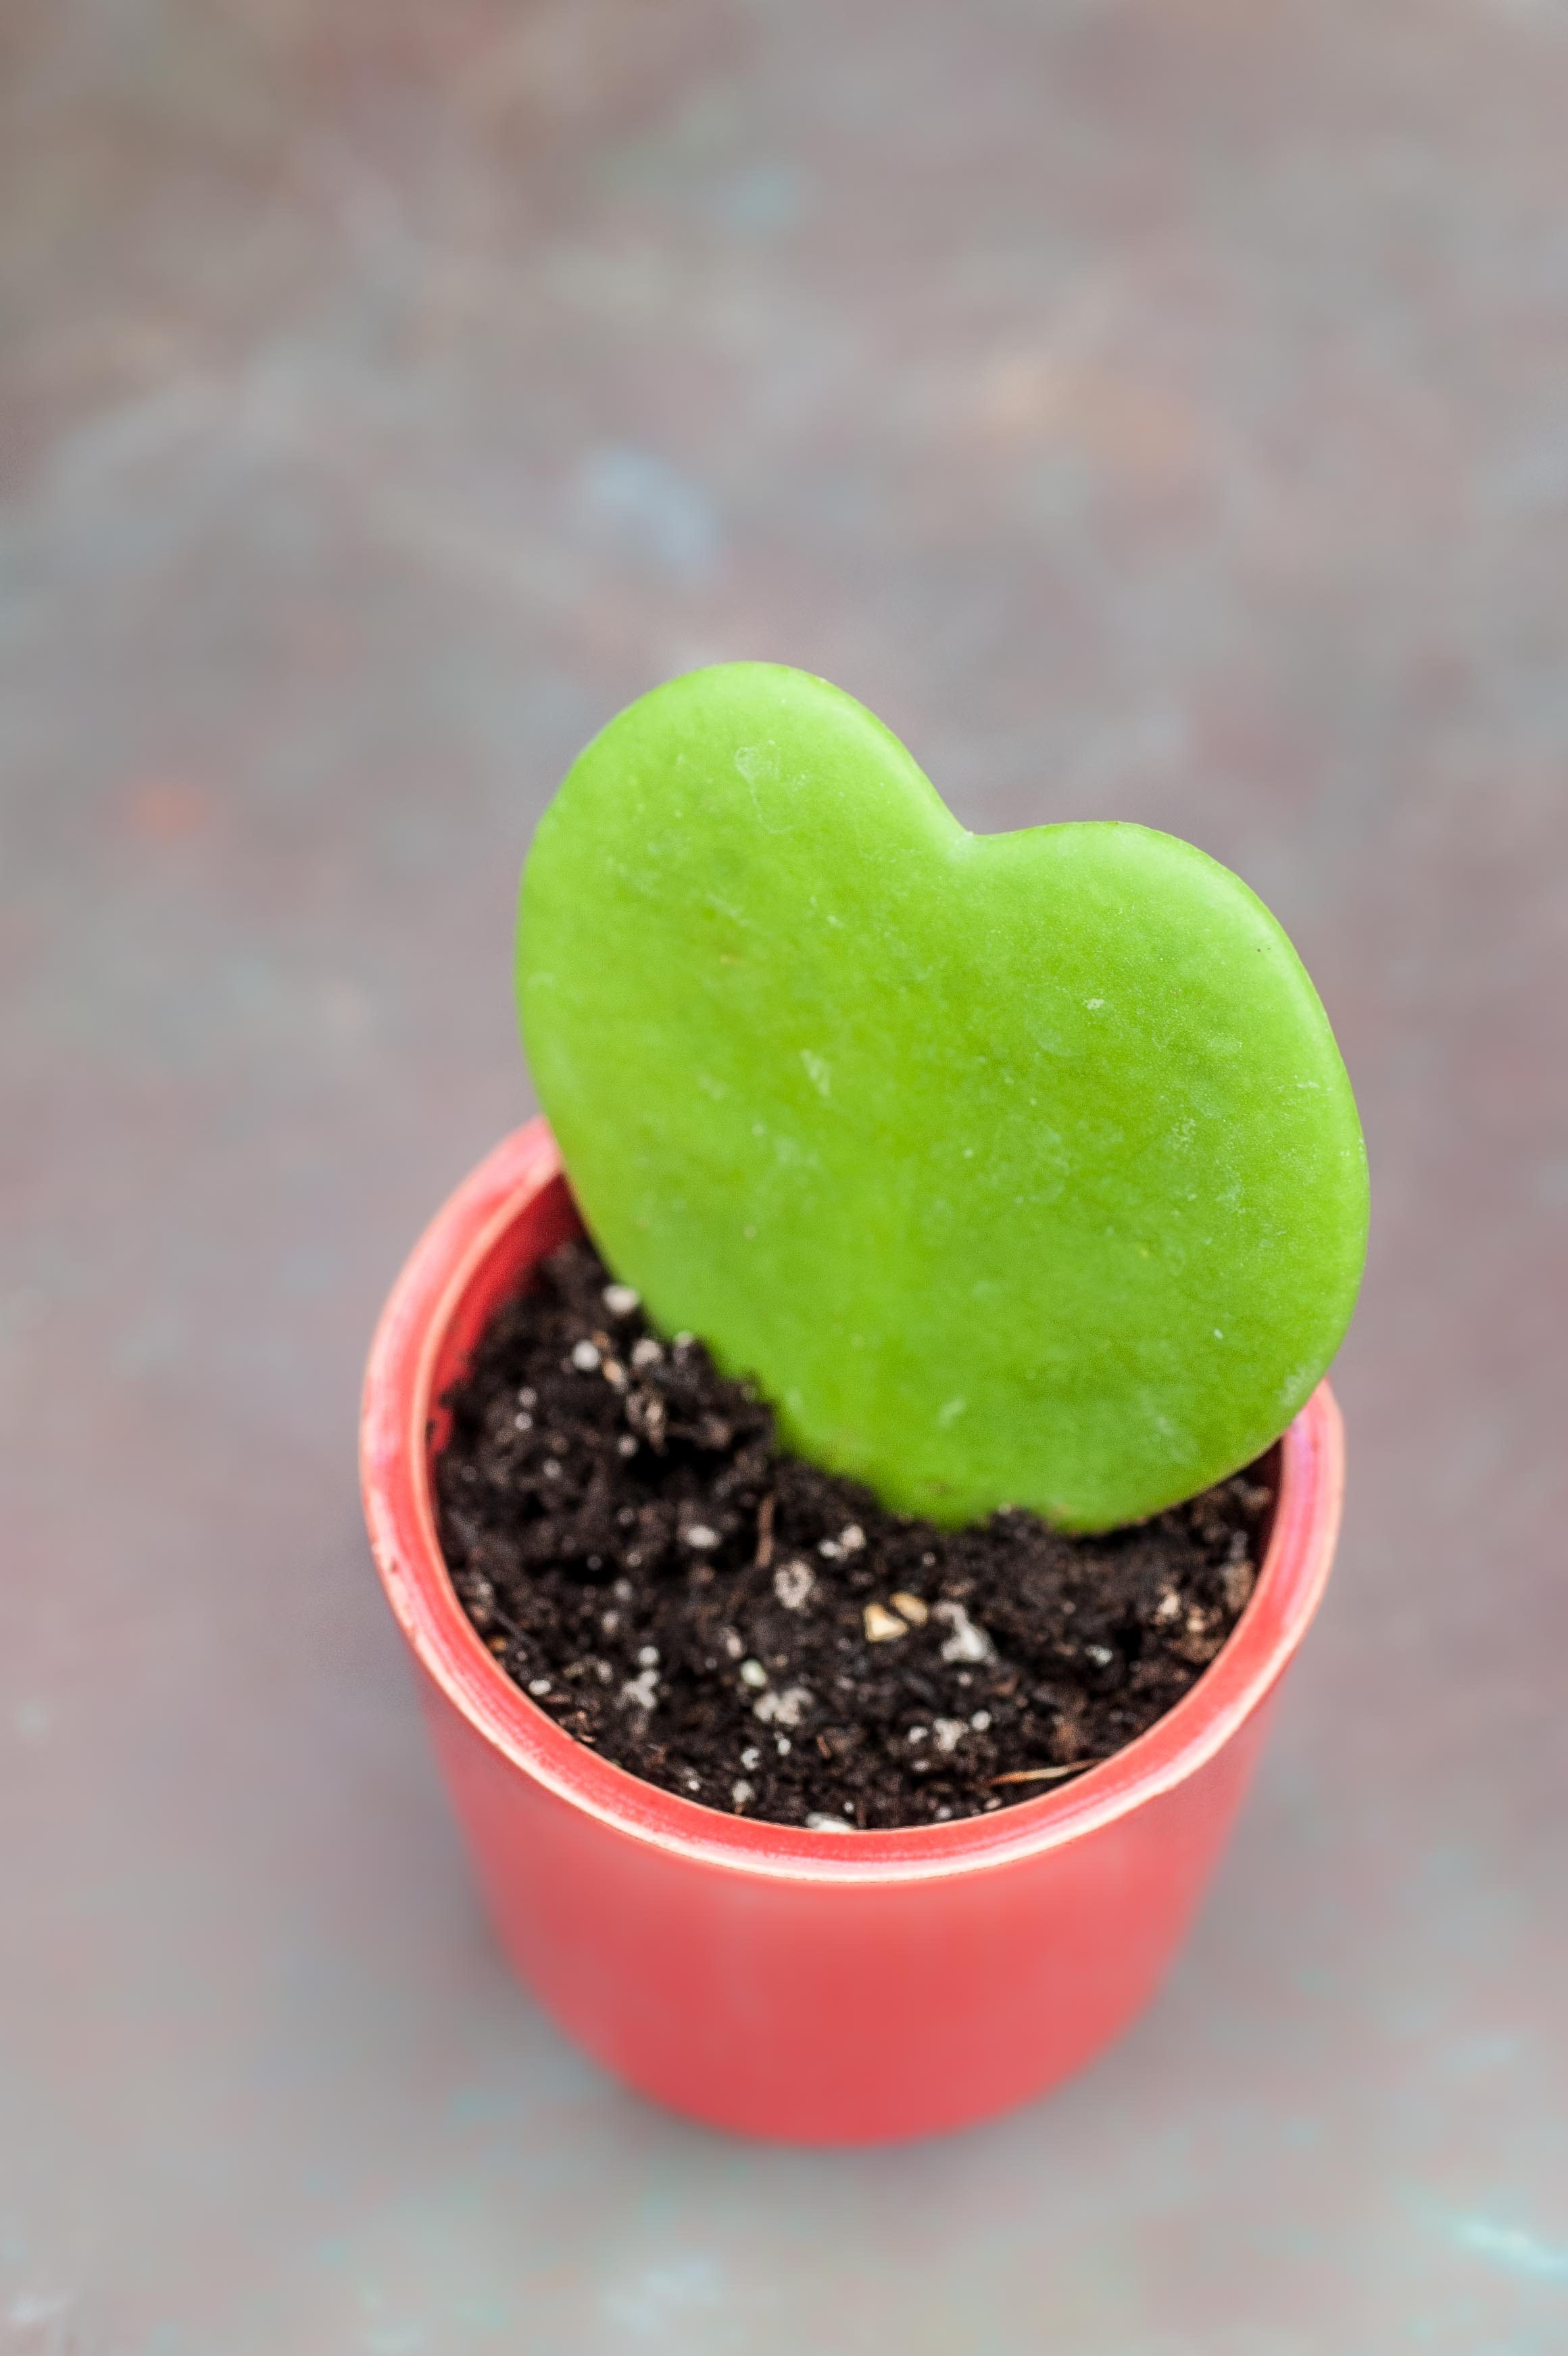 |
Sweetheart hoya
Thick, heart-shaped leaves make this succulent an adorable valentine. The single, heart-shaped leaf will grow into a cluster of hearts if transitioned into a hanging basket and given a spot with very bright light. During the summer the sweetheart hoya will provide an added layer of interest with bright white blooms with burgundy centers.
 |
 |
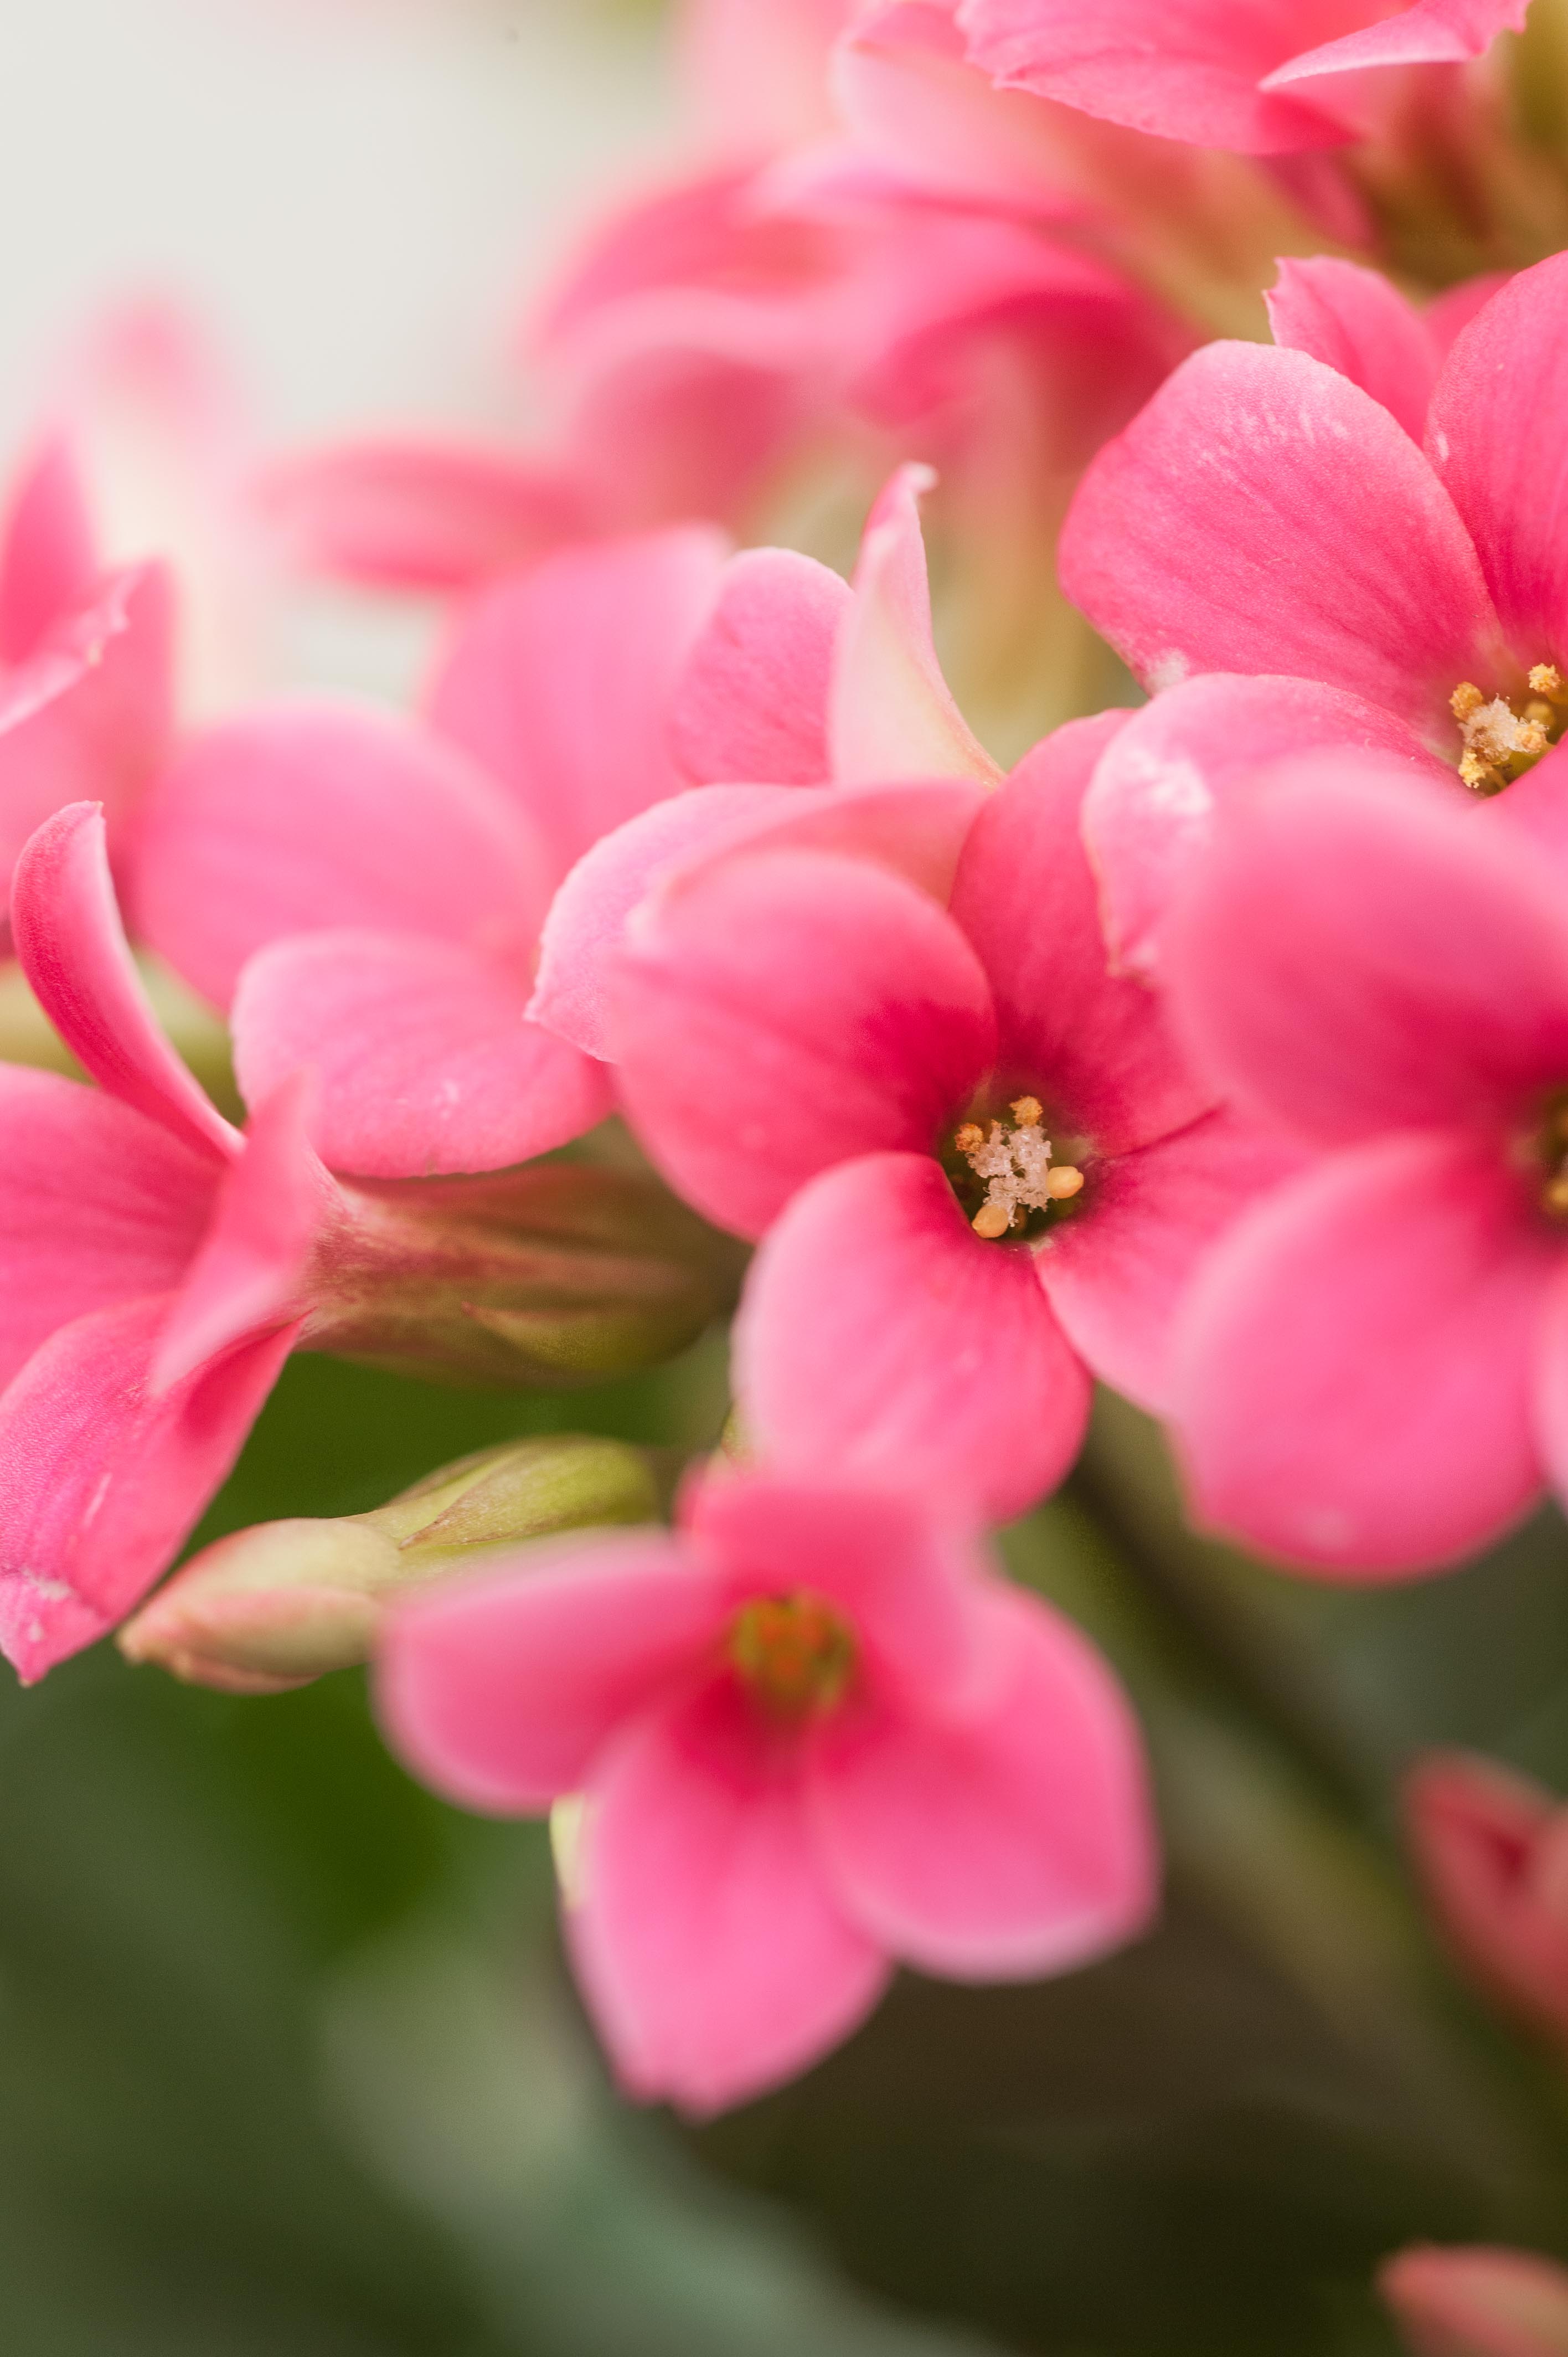
Other succulents
These adorable, no muss, no fuss plants are perfect for a sunny windowsill, bright bedroom or office. The key to a happy succulent is to give it bright light and let it dry out. Succulents store water in their thick leaves and release it to the plant as needed.
