Planting Seedlings for Arbor Day
Update to our seedling giveaway event:
Thank you for your participation in our 2018 Arbor Day seedling giveaway! The response was overwhelmingly enthusiastic. We encourage you to send us photos of your planting projects at photos@mgcmail.com!
As a garden center, Arbor Day is one of our favorite holidays. Each year we celebrate by encouraging our friends, family and customers to cultivate and care for our environment by planting trees in their gardens.
This year, we are excited to take this celebration a step further by actually giving away native white dogwood seedlings for families to plant! Take on a planting project with your children, your family, or your friends this year to celebrate the environment and add a beautiful new plant to your home and garden. As the white dogwood seedlings grow, they will improve the air quality of our region, create habitats for local wildlife, and serve as a food source for birds, pollinators and other animals.
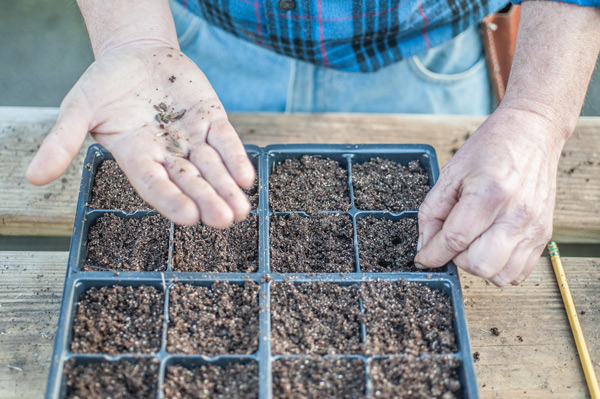
How to Plant a Seedling
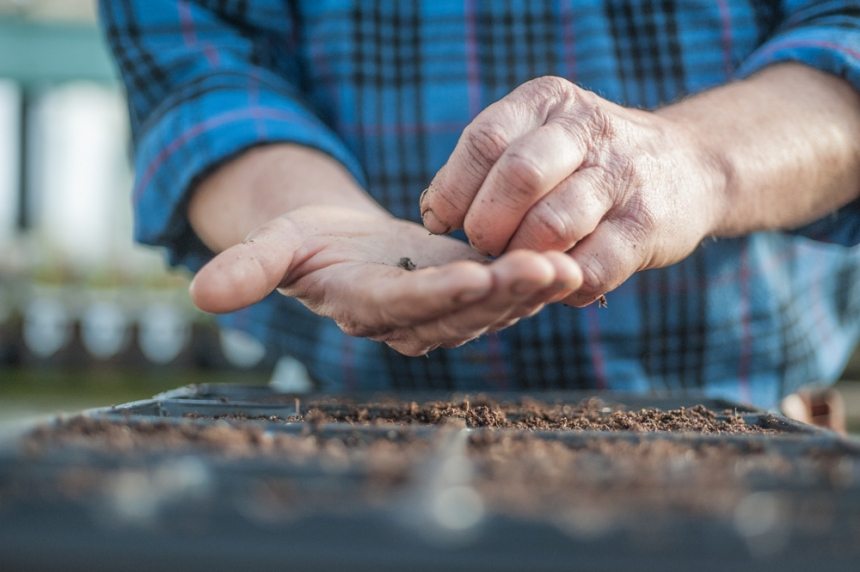
Seedlings can be planted in the ground or in a container. It is best to plant them within 24 hours of bringing it home, but if you cannot do so, keep the roots of your tree moist. Wrap your seedling in plastic and store it in a cool, dark spot between 40 degrees and 60 degrees, then plant your seedling as soon as possible.

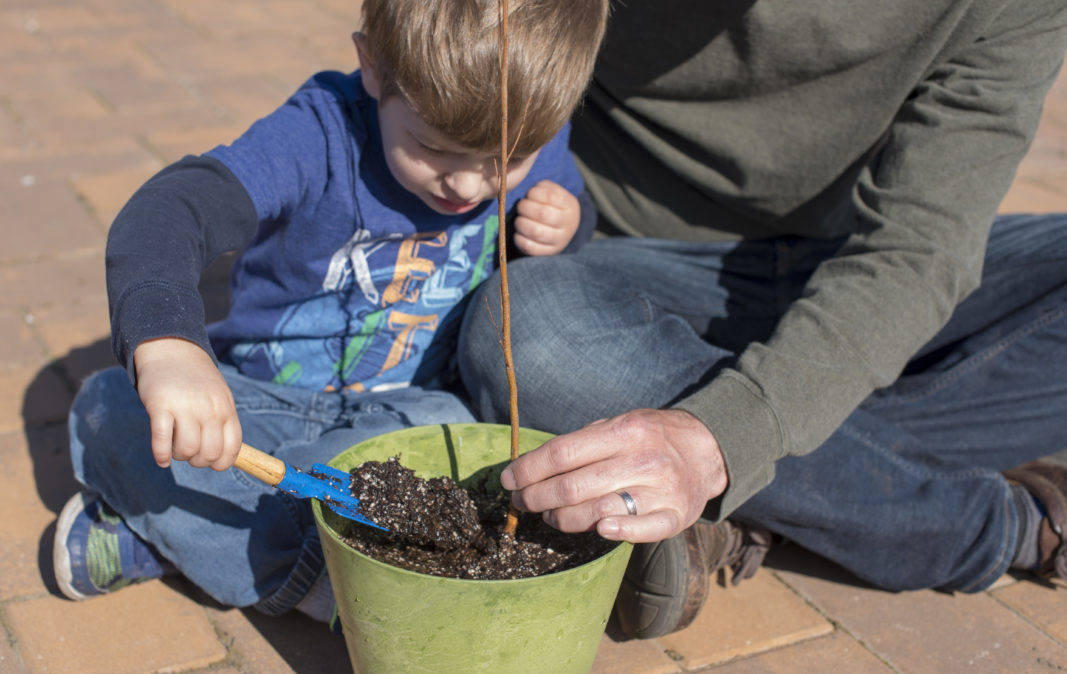
Container Planting
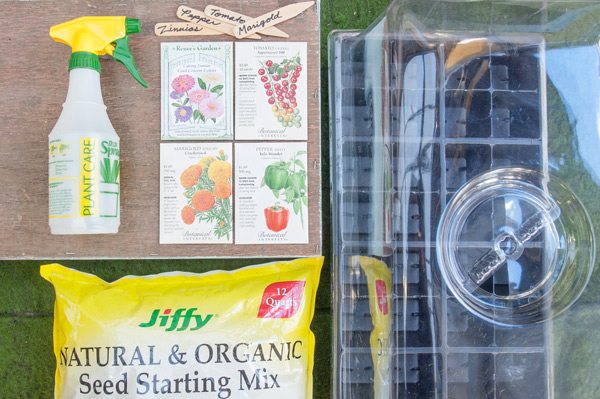
Supplies:
- Container (At least 1 gallon in size and 6-7 inches deep)
- Water soluble or slow release fertilizer
- Merrifield Potting Mix
Steps:
- Select a container with a drainage hole that is slightly larger than the root system in depth and width (a one-gallon pot that is 6-7 in. deep is generally enough to maintain the growth of the seedling for one year)
- Soak your seedling’s roots in a bucket or bowl of water for several hours.
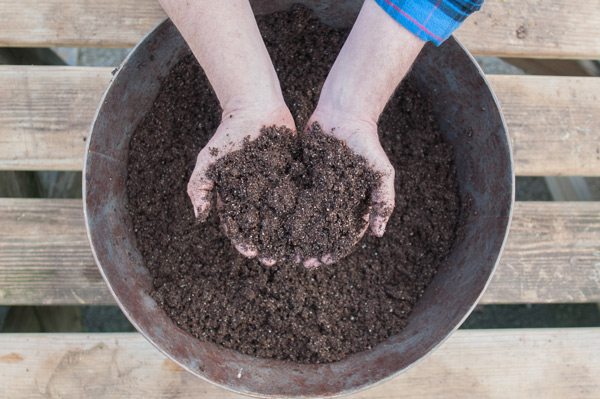
- Top soil and garden soil are generally too heavy for seedlings. Use Merrifield Potting Mix to get your seedling off to a strong start.
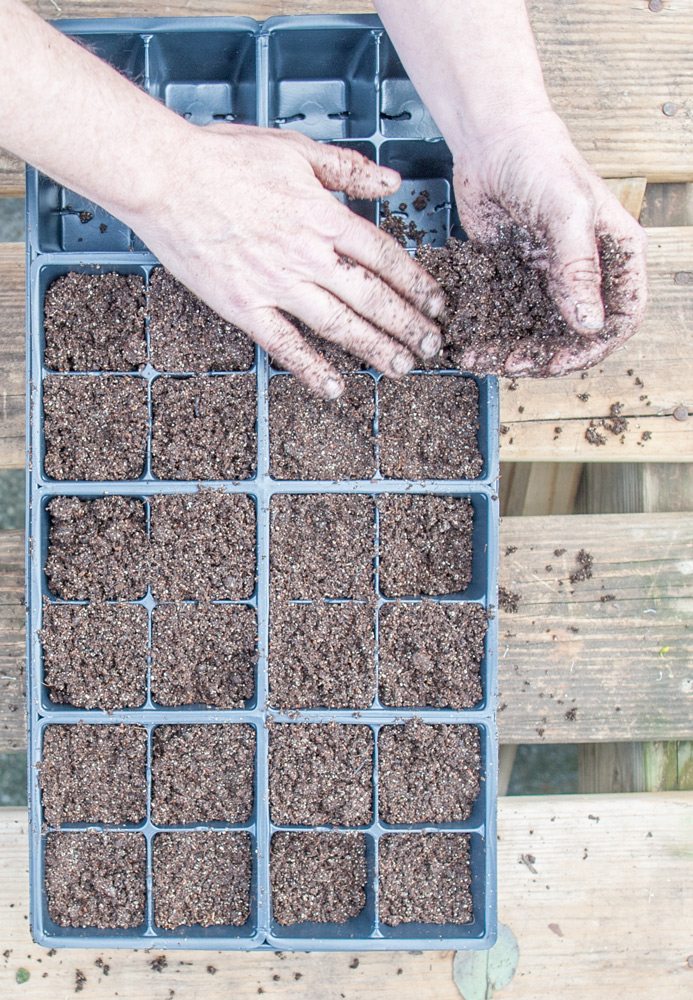
- Place the seedling in the container, and fill with Merrifield Potting Mix to the top of the point where the roots begin.
- If your potting mix does not contain a slow release fertilizer, apply a slow release fertilizer at half the concentration recommended for house plants. Re-apply once per month.
- Water your container thoroughly. Test the soil for moisture regularly and water as needed when the soil is dry.
- You can keep your tree in a one-gallon container in a spot with full sun to part shade for approximately one year before transferring it to the ground.

Planting in the ground
Supplies:
- Shovel
- Bucket or bowl
- Mulch
- Garden hose
- Watering Wand
- Merrifield Planting Mix
Steps:
- Select a location for your tree. Ideally, it should be sheltered from weather, wildlife and lawn mowers for the first few years, then transplanted to another location. If you will be planting it in the spot you intend to be its permanent location, place a fence around the tree to protect it from lawn mowers and foraging wildlife.
- Soak your seedling’s roots in a bucket or bowl of water for several hours.
- Dig a hole as deep as the depth of the roots for your seedling, allowing plenty of room around it for the roots to grow and spread out.
- Place your seedling in the hole, making sure that the top of the roots is at the level of the soil line.
- Mix your existing soil with Merrifield Planting Mix or other soil conditioner and use this mixture to backfill the hole.
- Apply a water-soluble fertilizer at half the concentration recommended for house plants once per month.
- Water thoroughly and deeply with your watering wand, saturating the root zone. Water deeply whenever the soil is dry to encourage deep roots.
- After planting, mulch 2-3 inches deep around the seedling to retain soil temperature and moisture. Leave unmulched soil around the trunk.
Celebrating Arbor Day
Looking to celebrate Arbor Day with a planting project, but prefer to plant a tree larger than a seedling?
Visit our post on trees and shrubs that grow well in our region.