Peg Bier, Merrifield Plant Specialist
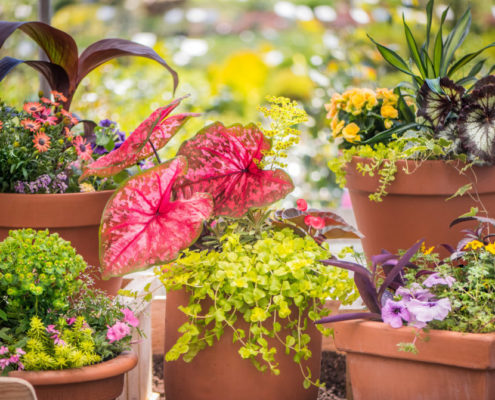
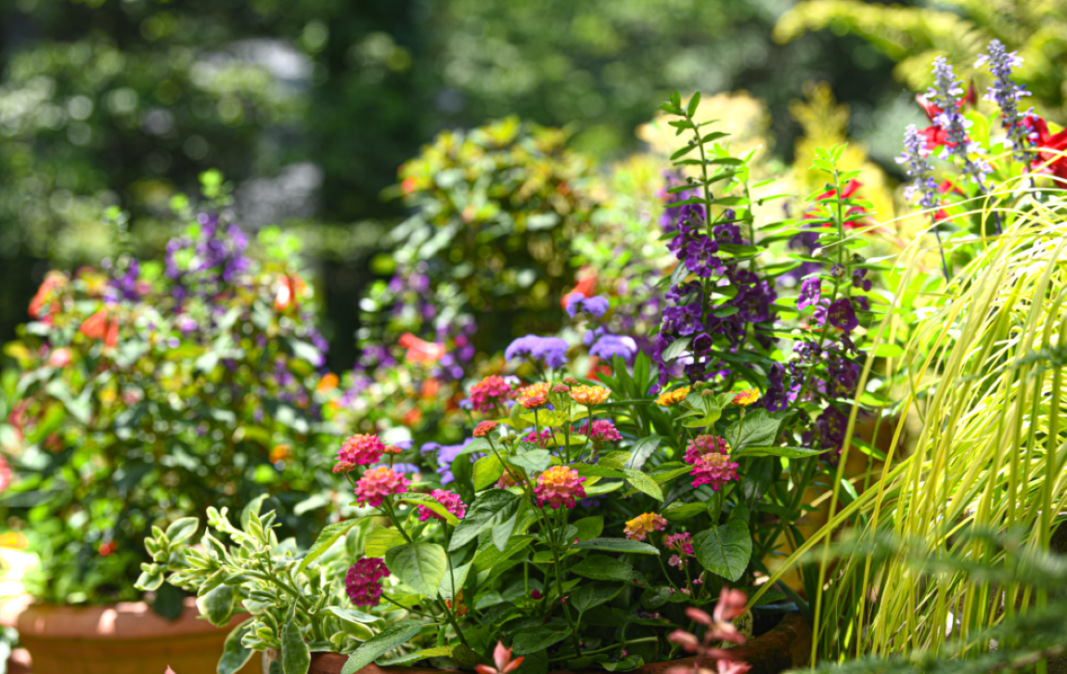
I love container gardening because there are endless combinations of plants you can pull into your creation to always come out with a fresh design. You can find stunning options throughout the entire nursery. For example, I love pulling in fresh herbs as fill or spill plants and even perennials to add texture.
Here are a few of my favorite plants that you can turn to time and again to combine into a unique container.
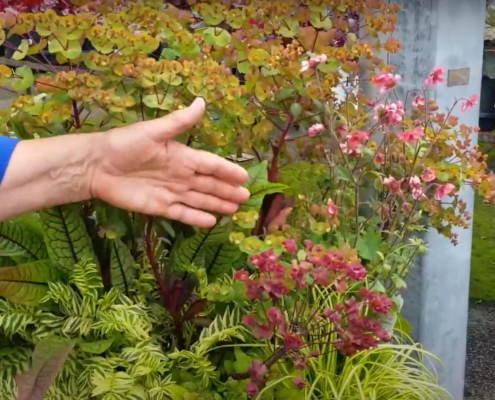
Part Shade to Shade
You have part shade to shady conditions if the location you have in mind for your container receives dappled light or four hours of morning sun or less each day.
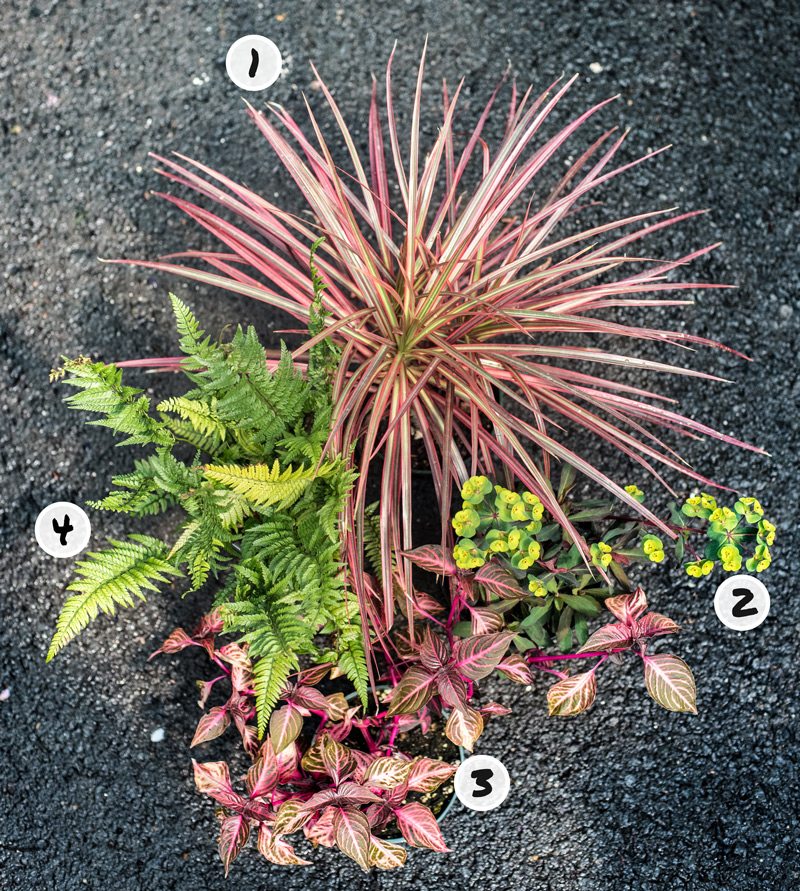
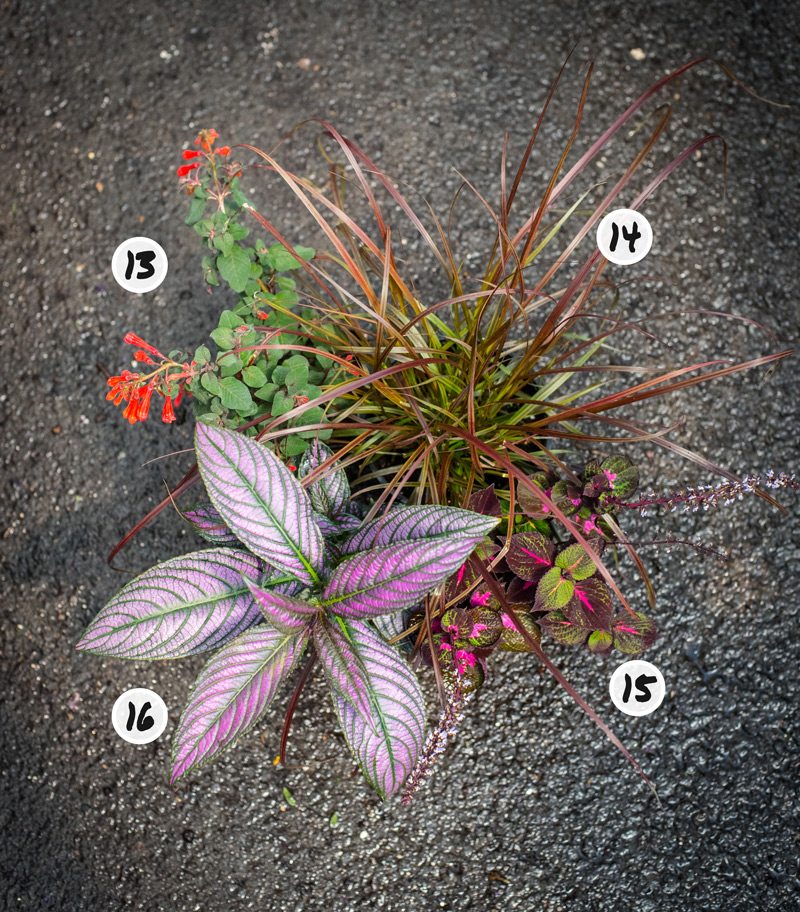
1. Dracena 2. Euphorbia 3. Iresine 4. Korean Rock Fern
Thrill Plants
1. Dracena
With beautiful foliage in bright green, deep green or even variegated options, dracaena are beautiful tropical plants that can be enjoyed outdoors while the weather is warm and indoors when the weather cools.
2. Euphorbia
An easy to grow perennial, euphorbia is popular for its richly colored showy bracts in shades of green, yellow, white, red, or purple. Deer resistant, drought and heat tolerant and low maintenance, euphorbia are easy to love. Be sure to wear gloves handling as the sap is toxic and causes skin irritation.
3. Iresine
Grown for its striking, glossy, red or variegated foliage, iresine makes a stunning addition to any container or garden bed. Also known as beefsteak plant or blood leaf, iresine can be enjoyed outdoors this summer and brought inside at the end of the season when the weather cools.
4. Korean Rock Fern
A low growth evergreen perennial, Korean rock fern adds texture and density to shady spots in the garden or height to any container. Its lush, dark green fronds provide great contrast when paired with lighter greens and golds.
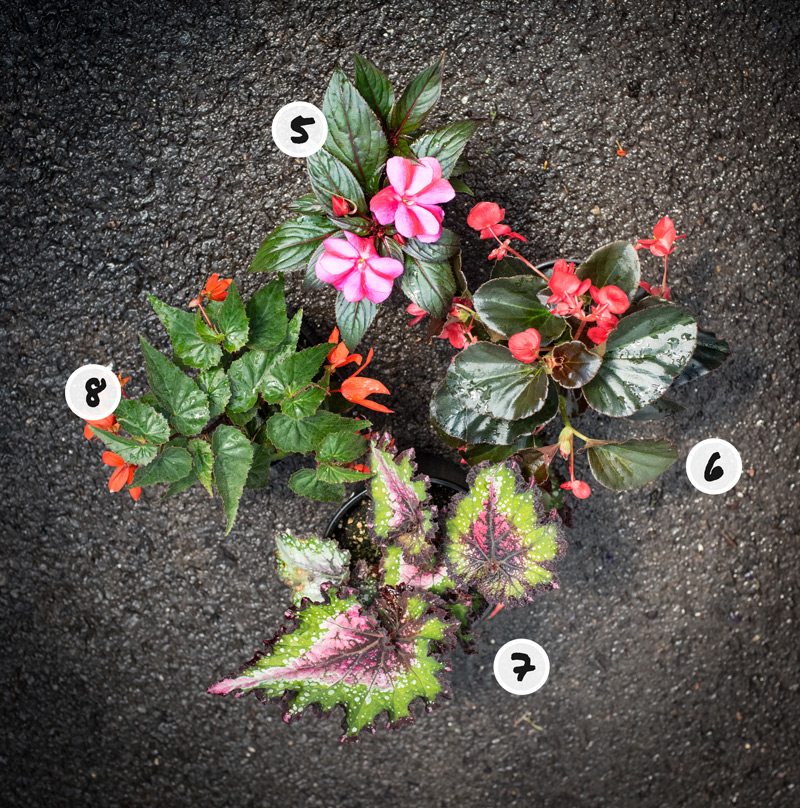
5. New Guinea Impatiens 6. Big Begonia 7. Rex Begonia 8. Million Kisses Begonia
Fill Plants
5. New Guinea Impatiens
This easy to grow annual produces big, striking blooms on showy foliage in shades of green that’s often variegated or burgundy tinted. With bright, colorful blooms in shades of orange, red, pink, white, and purple, New Guinea impatiens are stunning in containers and in mass bed plantings.
6. Big Begonia
With loose clusters of large flowers in shades of white, pink and red, the big begonia series also features waxy, dark green or bronze foliage. The big begonia will produce flowers in a compact, mounding form now through the first frost in the fall.
7. Rex Begonia
Known for its fabulous foliage, Rex begonias produce showy, jaw-dropping leaf coloration, adding texture to any container planting. While it produces small, pink to white flowers, they’re insignificant compared to the fabulous foliage display.
8. Million Kisses Begonia
Million Kisses begonia is a vigorous trailing begonia with bright pink to red flowers on showy green foliage. A tuberous begonia, this plant is low maintenance and will produce masses of flowers all summer, making it a perfect choice for containers and hanging baskets. The million kisses begonia is a standout as a fill or spill plant in containers.
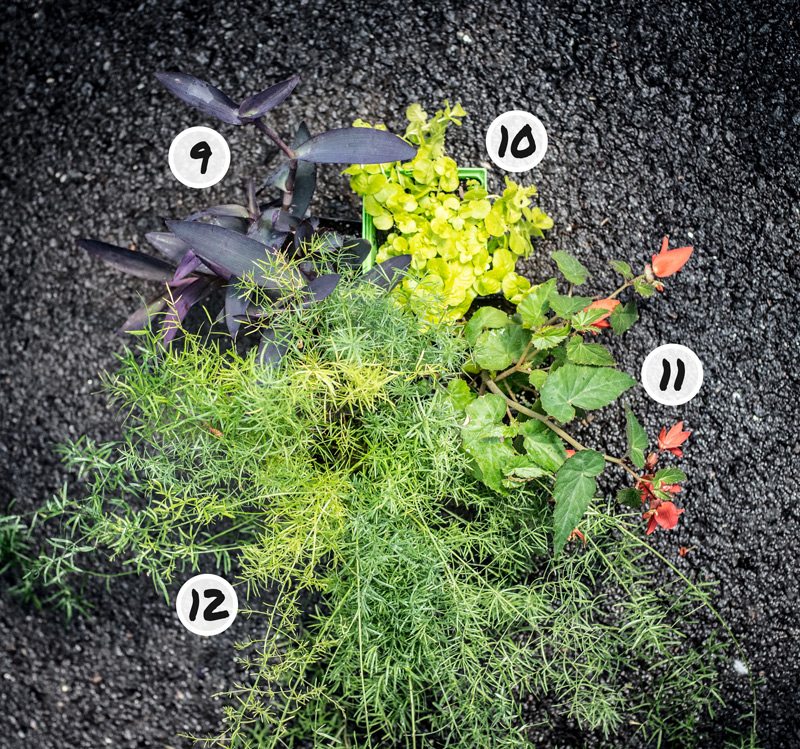
9. Setcreasea 10. Lysimachia 11. Million Kisses Begonia 12. Asparagus Fern
Spill Plants
9. Setcreasea
A training, tender annual in our area, setcreasea has vivid purple stems and violet-purple leaves with pink flowers come summer. Deer resistant, setcreasea is one of our favorite trailing plants thanks to its stunning color.
10. Lysimachia
Also known as creeping jenny, lysimachia is a low growing, creeping groundcover with rounded, golden yellow leaves. It produces bright yellow, cup-shaped flowers come summer. A fast grower, lysimachia is a great choice as a spill plant as the container acts as a natural border.
11. Million Kisses Begonia
Million Kisses begonia is a vigorous trailing begonia with bright pink to red flowers on showy green foliage. A tuberous begonia, this plant is low maintenance and will produce masses of flowers all summer, making it a perfect choice for containers and hanging baskets. The million kisses begonia is a standout as a fill or spill plant in containers.
12. Asparagus Fern
With a feathery leaf texture that appears soft and fuzzy and small white flowers in the summer, asparagus fern is a great spill choice as it cascades gracefully down the side of a pot. Asparagus fern is not a member of the fern family at all and is in fact part of the lily family. You can enjoy your asparagus fern outdoors this summer and enjoy it indoors in bright, indirect light once the weather cools.
Part Sun to Full Sun
You have part sun to full sun conditions if the location you have in mind for your container receives five hours of sun or more each day.
13. Gartenmeister Fuschia 14. Purple Fountain Grass 15. Perilla 16. Persian Shield
Thrill Plants
13. Gartenmeister Fuschia
With full foliage and delicate, exotic blooms, fuschia makes a standout thrill plant in both containers and hanging baskets. Its two-toned flower color and unique shape make it quite the attraction! Fuschia is an absolute must to attract hummingbirds.
14. Purple Fountain Grass
This tropical annual produces narrow bladed burgundy-red foliage with rosy-purple plumes. It’s mounding, airy form and deer tolerance make it a lovely choice for containers or bed borders. At the end of the season I love extending the life of fountain grass by drying it and working it into an indoor arrangement.
15. Perilla
Also known as beefsteak plant, I love using perilla for its beautiful, wrinkled, serrated, large foliage. Its bushy form adds density and height as a thrill plant in container gardens. Perilla is a popular herb in some Asian cultures where they use its grassy flavor with a hint of licorice in stir fries, salads, soups and as a garnish.
16. Persian Shield
I love Persian shield for its long, slender, pointed leaves and bright iridescent color. Its bushy growth habit and phenomenal foliage with deep green veins and a purple-silver surface make Persian shield a stunning choice for a container garden. You can enjoy your Persian shield outside this summer and bring it indoors to enjoy when the weather cools.

17. Petunia 18. Bidens 19. Sweet Alyssum 20. Lantana
Fill Plants
17. Petunia
Petunias are vigorous growers and prolific bloomers with a delicate, tubular shaped bloom. I love that they come in so many color choices with beautiful veining as I can always find a petunia to pair with my other plant selections. Keep your petunias looking their best by deadheading after they flower and fertilizing regularly.
18. Bidens
This north American native annual produces starry, honey-hued flowers atop fern-like green foliage. Bidens is a prolific, vigorous bloomer with a compact growth habit and tolerance to both heat and drought, making it the perfect selection for a container garden. You’ll love to smell its sweet fragrance right outside your door.
19. Sweet Alyssum
Sweet alyssum produces clusters of delicate, subtly-scented sweet flowers in shades of pink, salmon, purple, white or yellow. Its tidy and compact growth habit and soft, delicate appeal make sweet alyssum a popular choice for container gardens, handing baskets and even bed borders.
20. Lantana
With tiny flowers in tight clusters, lantana is beloved for its ability to produce an abundance of blooms continuously summer through fall. This annual is very heat and drought tolerant and exceptionally easy to care for! And, its solid or bi-colored clusters of flowers attract butterflies better than most other annuals.
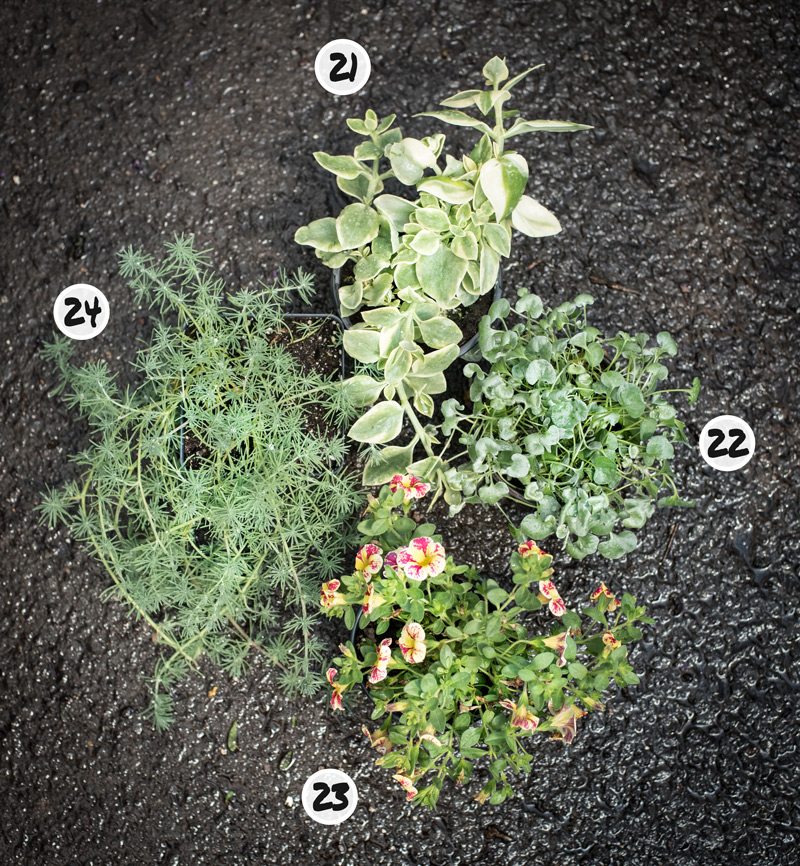
21. Dorotheanthus 22. Dichondra 23. Calibrachoa 24. Lotus Vine
Spill Plants
21. Dorotheanthus
Dorotheanthus is a trailing, succulent leaved annual with small, red, daisy-like flowers. Its dense, spreading form make it a beautiful spill plant, especially with its rough, thick, oval leaves that almost appear as if they’re shimmering!
22. Dichondra
I love dichondra for its gray foliage and low maintenance care. This lovely spill plant has a unique form and is truly spectacular as it drapes and falls over and out of the pot.
23. Calibrachoa
Also known as million bells, calibrachoa produces an abundance of tiny, petunia-shaped blooms in stunning colors such as bright red, blue, orange, pink or white. It’s trailing form make it a standout spill plant and a beautiful groundcover when tucked into a bed border.
24. Lotus Vine
This tropical annual produces brilliant, sunset-hued beak-like blooms in late spring to early summer. When it’s not in bloom, it’s light greenish-blue, needle-like foliage provides a beautiful texture. Lotus vine is a beautiful spill plant in containers and hanging baskets and great as creeping ground cover. When combined with dichondra, the effect is amazing!
")
")
")
")
")
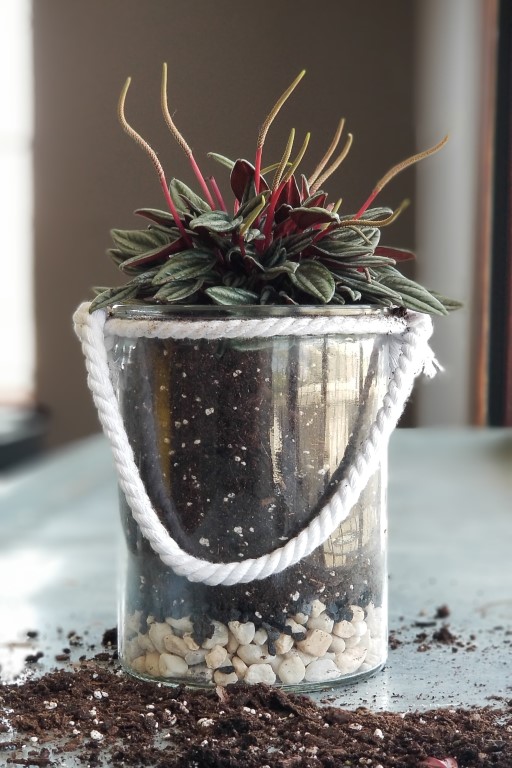
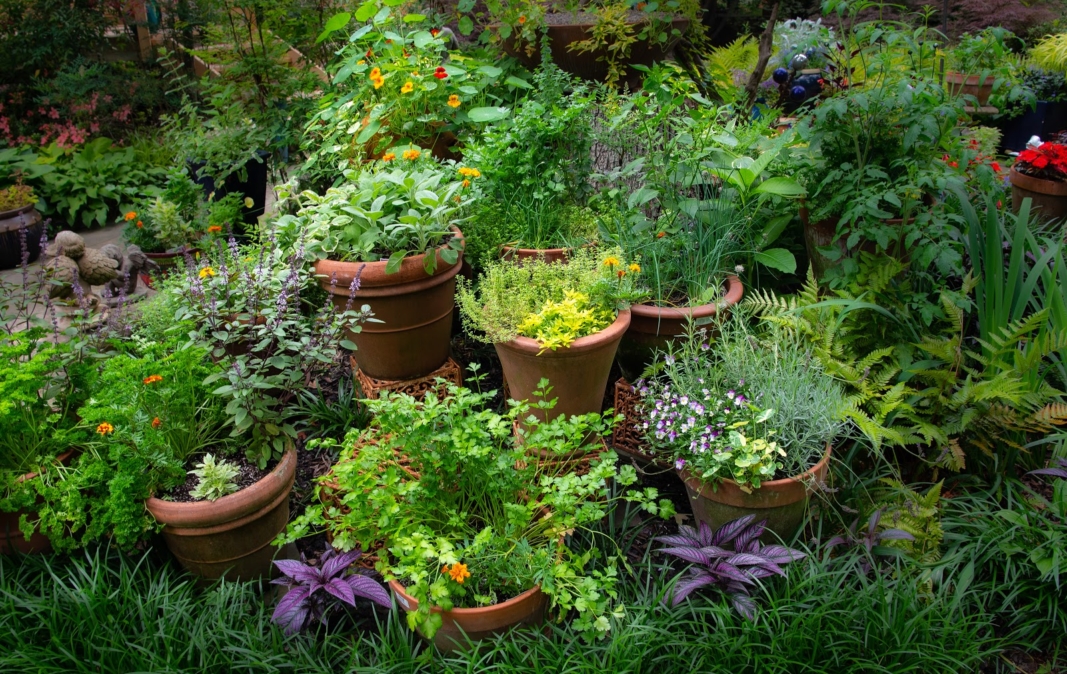


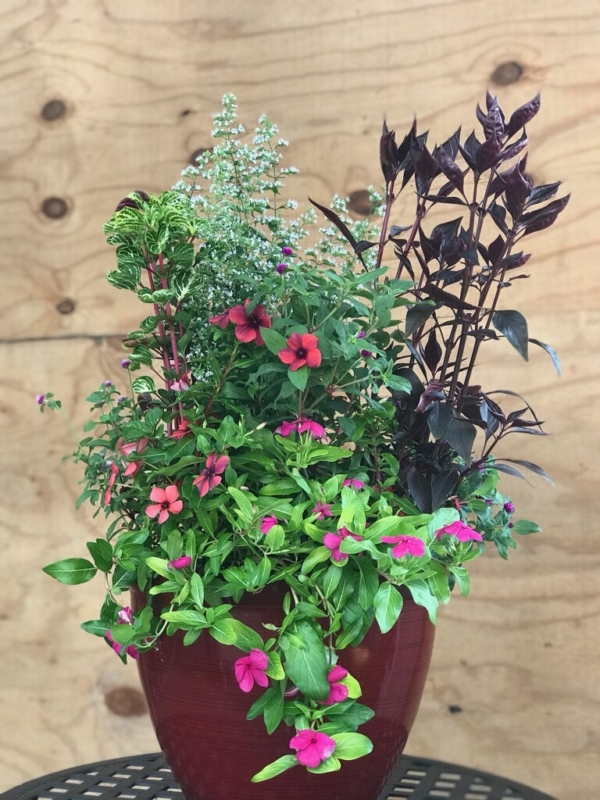


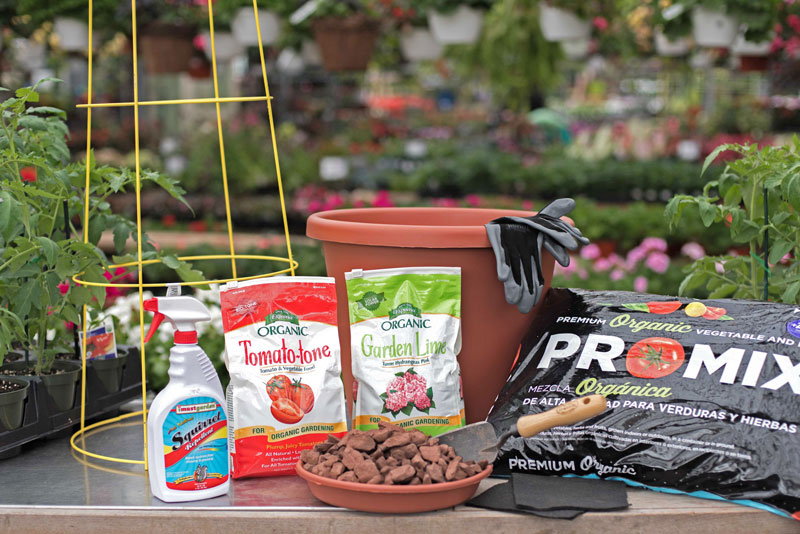
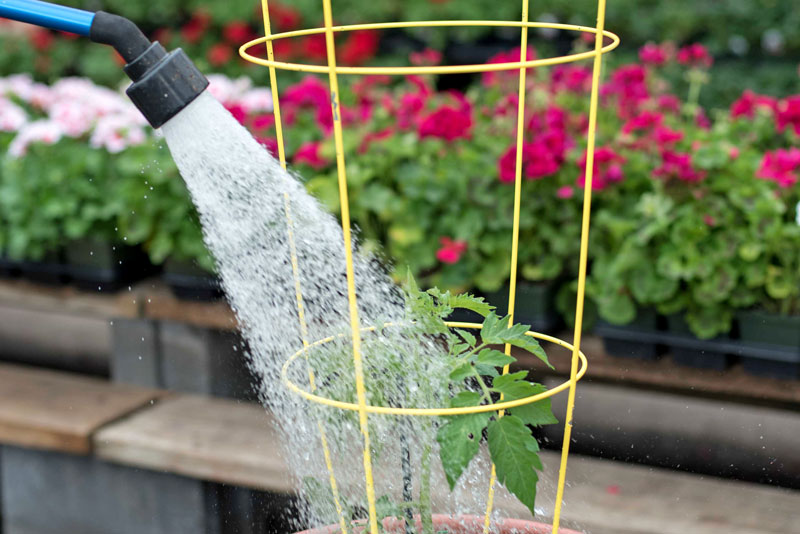
 Photo by Bryn Wallace