 Photo by Bryn Wallace
Potting Instructions for Outdoor Containers
Container gardens are wonderful for their ability to bring color and interest to front porches, decks, patios and walkways of all sizes. They’re extremely versatile and you can use them to plant small trees, shrubs, annuals, perennials, vegetables and herbs. With a few simple steps, you can get your outdoor containers potted successfully and keep them thriving all season long.

Step 1: Select your plants.
We always recommend selecting your plants as the first step, since they’ll influence your decision on the type, color and size of pot to use. If you’re planting a container with a variety of plant types, you can follow the “thrill, spill, fill” recipe for a well balanced design:
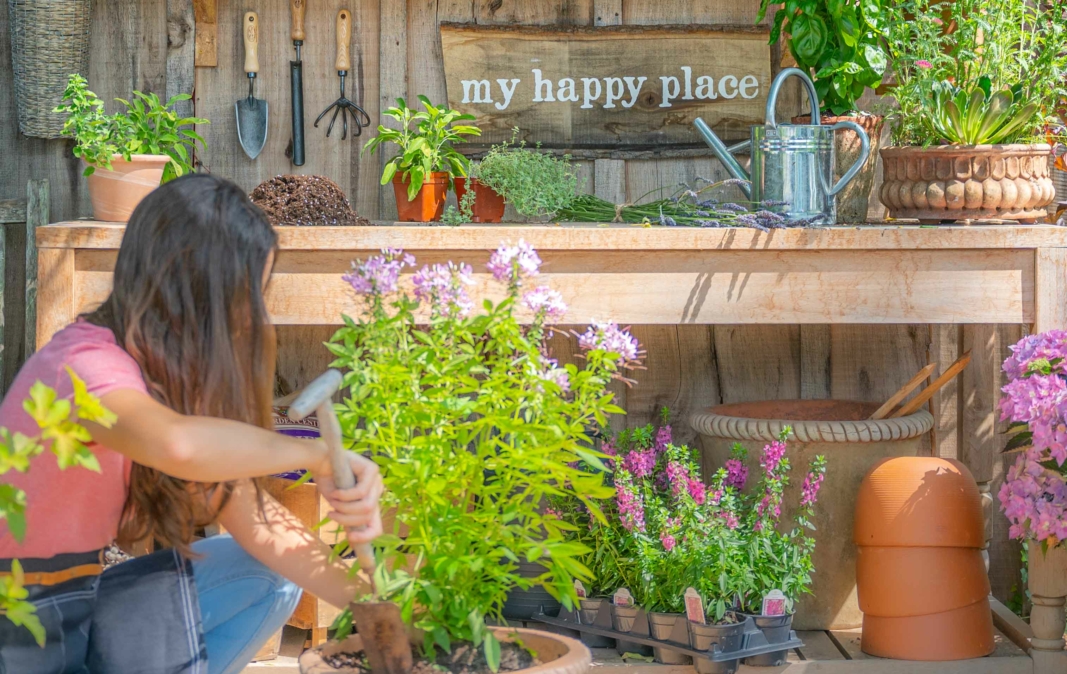
- Thrill plants provide height to your container.
- Spill plants cascade over the side of the pot.
- Fill plants fill in the spaces in the middle of the pot.
When you’re choosing plants, select plants that prefer the same sun conditions for best results. You can usually find this information on the plant label, or you can check with our team. It’s also fun to play with scale, texture and color to build extra interest.
Get more container gardening information and inspiration here:

Step 2: Select a container.
Once you have your plant design, select a complementary container. There are many different types of materials to choose from–terracotta, metal, plastic, concrete, ceramics and many more. We recommend selecting a container with a drainage hole at the bottom. This will allow the excess water in your pot to drain out of the holes, giving the plants’ roots the ability to take in the oxygen they need to thrive.
When you’re selecting the size of the container, consider the size of the plant(s) you’re putting into it. You want to allow plenty of room for root growth. The larger the pot, the more soil you’re able to use, which means more room for growth and the easier it is to keep that soil moist.

Step 3: Add potting soil.
Next, place a piece of landscape fabric (or a coffee filter) over the hole in the bottom of the container. This prevents soil from escaping the drainage hole and making a mess around your container. Add Merrifield Potting Mix until the container is about ⅔ full. Merrifield Potting Mix is ready to use right out of the bag. It is custom blended to provide excellent drainage and maintain the proper balance of air, moisture and nutrients to support plant growth and development.
Once the soil is in place, we recommend adding a slow release plant food, such as Osmocote, to provide ongoing nutrition. Another option is to omit the slow release plant food and use a water soluble plant food, such as Jack’s Classic, when you water.

Step 4: Add your plants.
Arrange your plants in their growers pots to get an idea of layout inside the pot. Then, working with your thrill plant first to establish the interest point and height, remove the growers pot and gently loosen the roots of the plant, tucking the plant into the soil. Continue working through your fill plants, then your spill plants in this same manner. You can tuck in extra potting soil as you need it during planting, or wait until your plants are placed to fill in the holes. You will want the soil to remain about 1” below the lip of the container when you are done planting.
You can also top dress your container with decorative rocks or mulch. This helps to retain moisture and keep critters out of digging in the soil.

Step 5: Water.
Once everything is planted, water well until the soil is sufficiently moist and water is coming out the drainage hole in the bottom of the pot.
If you’re placing your container on a wood surface, like a deck or balcony, use a saucer or plant feet to keep the pot off the ground to allow the wood to dry out between waterings.
Ongoing Care Tips
The most important thing to remember to keep your containers thriving and happy is to water them well. Check the soil for water every 1 to 2 days, except during hot, sunny periods when you need check the soil daily. Always water immediately if you see signs of wilting. Feel the soil 1 to 2” with your finger to determine if the soil is wet or dry. It should feel like a wet sponge. If the soil is dry, water thoroughly until it is fully saturated and water is draining out of the container.
If you don’t use Osmocote when planting, feed your containers every 2 to 3 weeks with water soluble plant food, such as Jacks Classic, to keep them blooming and full. Follow the recommended amount on the package instructions.
We recommend removing the faded blooms (deadheading) on annuals. This will keep your plants looking nice and also allow the plant to focus on producing new blooms. If your plants get leggy, prune them back by ⅓ to ½ and fertilize. Then, they will begin to branch out again within 2 to 3 weeks.

 Bryn Wallace