Tag Archive for: vegetable garden

Basil Fresh Herbs

Basil Growing Guide

The key ingredient in pesto, ensalada caprese and tomato sauce, or a garnish to anything and everything, basil is my favorite herb. It must be fresh, possibly frozen, but never that culinary abomination, dried. Fortunately for chefs and gardeners, it is easy to grow anywhere you can find at least a half day or more of sunlight.

Basil in Container

Planting, Feeding and Watering Tips

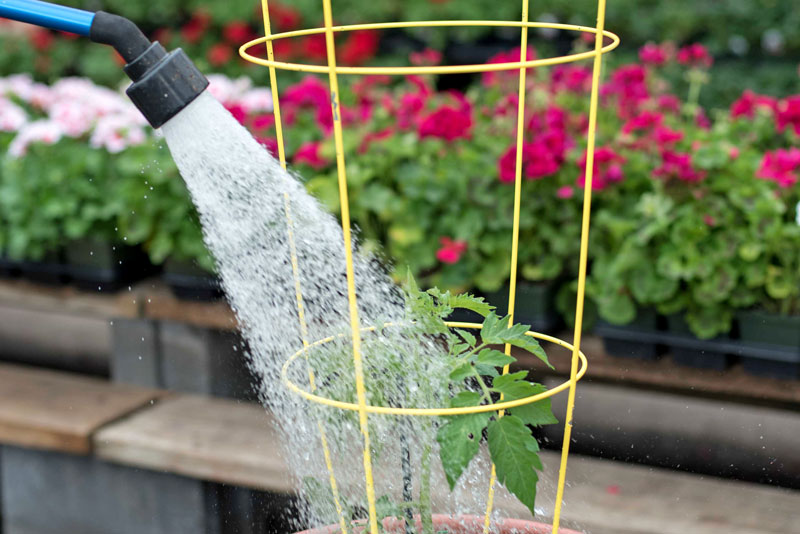
Basil is easy to grow in pots or in garden beds as long as it is placed in a sheltered area where it can remain slightly moist. Wind and extremely hot, dry conditions will damage the plants. 

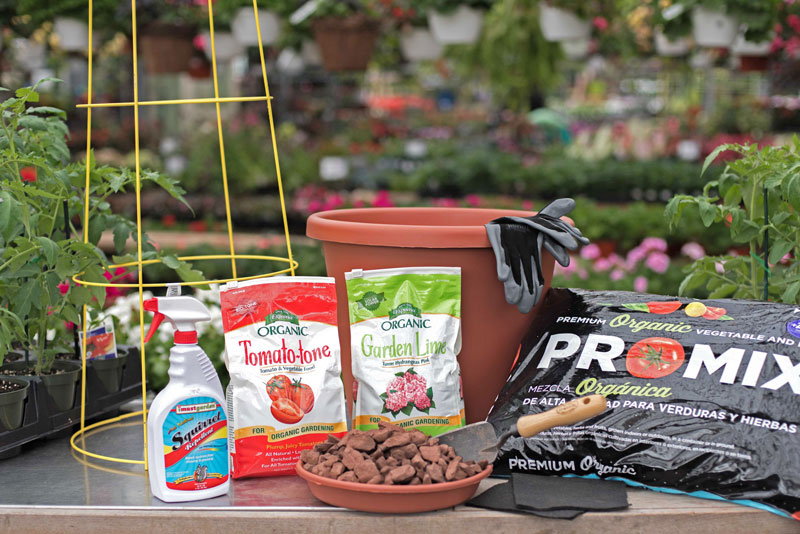
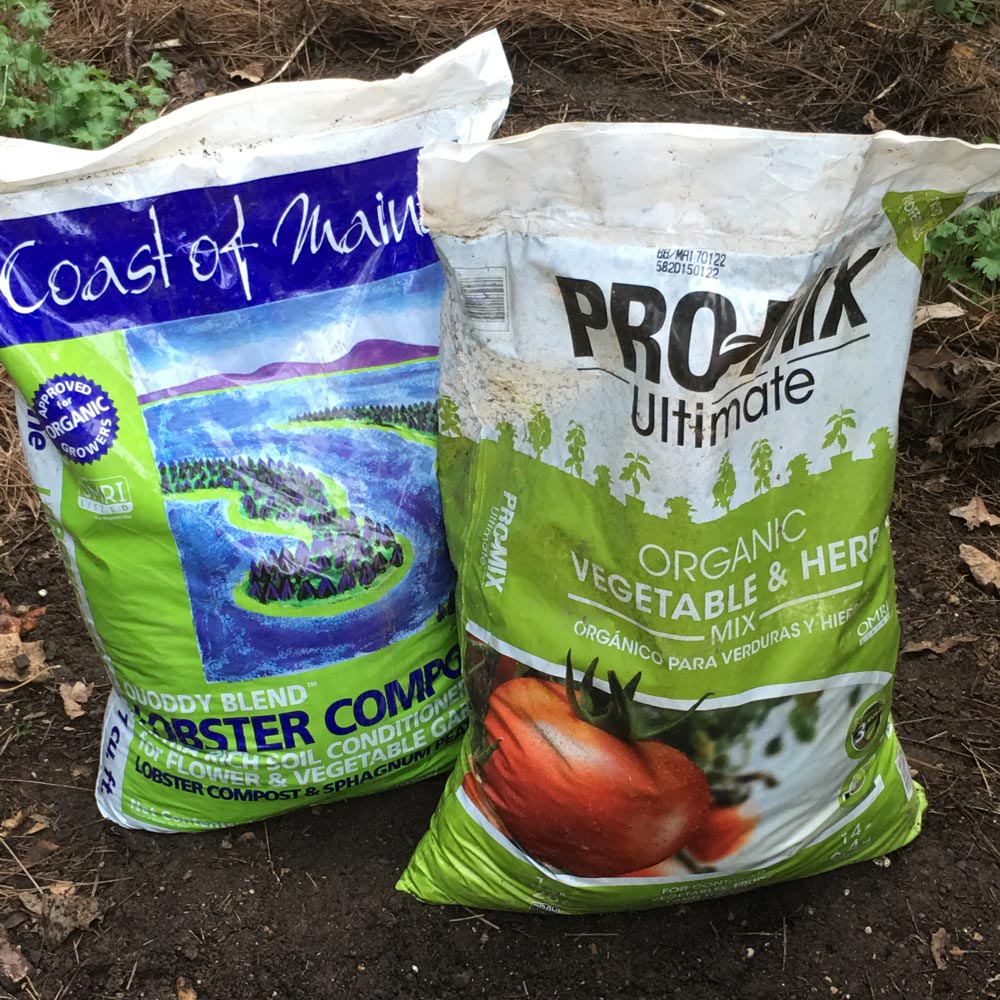
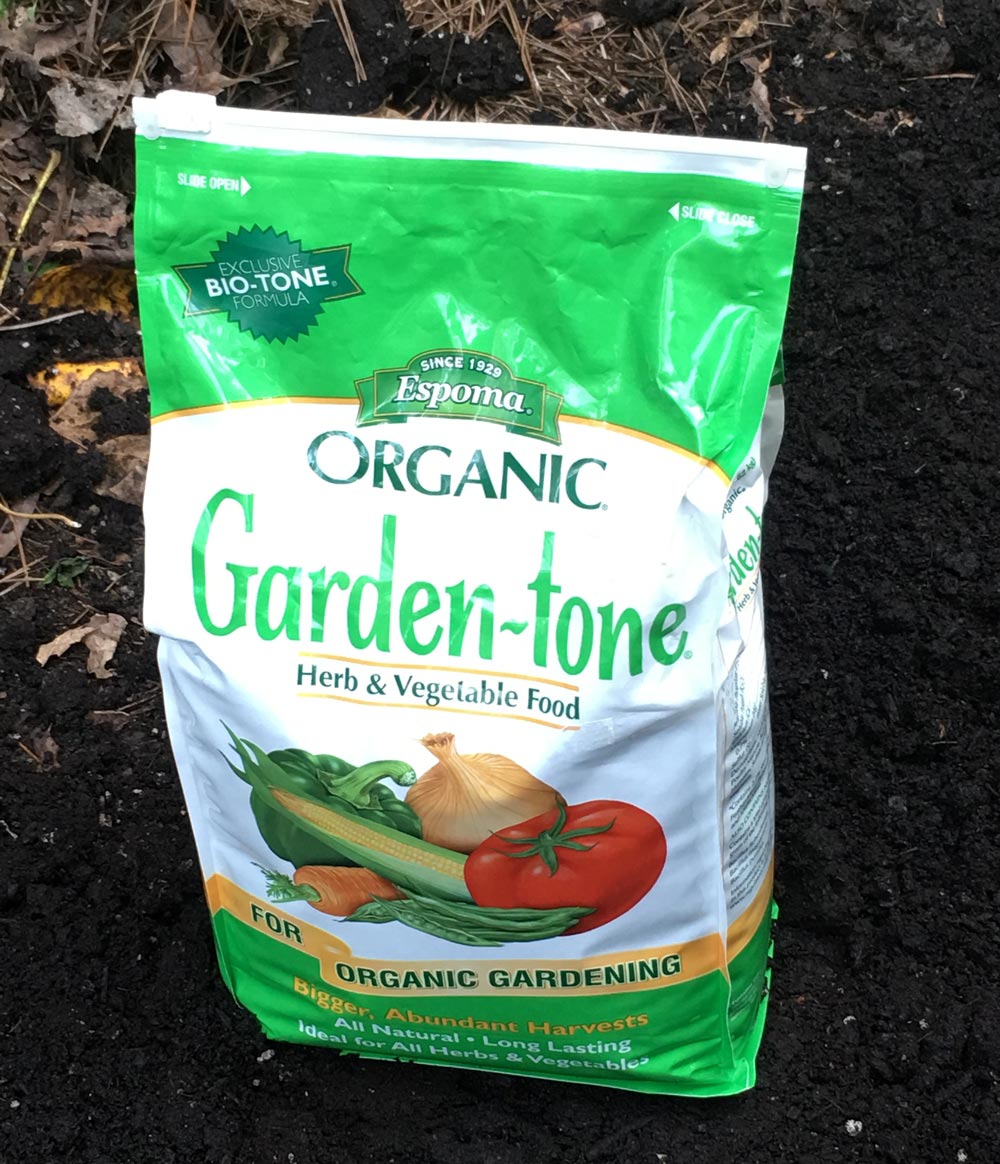
You can get a head start on the growing season by purchasing transplants as opposed to planting seeds. When planting, amending your soil or potting mix with Bumper Crop or Garden-Tone helps to ensure balanced nutrition. Basil is not a “heavy feeder”, but fertilizing once every 4-6 weeks will improve it’s growth. Water often enough to keep the soil feeling moist, but not wet.

When the fall arrives, you can further extend your growing season by bringing your basil plants or cuttings indoors when temperatures begin falling below 50 degrees. Basil can be grown indoors in a very sunny window. It will not be as vigorous or productive, but some fresh basil is better than none.

Maximizing Your Harvest 

Extending Your Harvest

Basil is an annual plant. It’s mission is to sprout, grow, flower and produce seeds as quickly as possible, which has to be accomplished during warm weather while temperatures remain above 50 degrees. As gardeners, we want to keep this from happening for as long as possible. After the plant flowers, the leaves become less aromatic, and it develops a bitter flavor. By delaying the flowering, you can extend the time of harvest and increase yield of tender, tasty leaves from your basil. 

Removing (pinching) the growing tips encourages the basil to branch out and produce more leaves. For the same reason, we remove (deadhead) the flowers to encourage the leaves to keep growing and prevent the plant from completing its growth and blooming cycle. Frequent pinching of the new growth is also a good source of fresh basil to use in the kitchen.

Basil Pesto For Freezing

Storing Your Harvest

If you harvest more basil than you can use, there are a variety of ways you can store it for future use. My favorite way to harvest and store basil is to turn it into pesto and freeze it in ice cube trays. This way I can easily adjust the serving size. Because I don’t like the texture of frozen cheese, I add this later, at the time of use. (3 cups basil leaves, ¾ cup olive oil, ¾ cup walnuts, 3-4 cloves garlic)

Basil Spoilers

Basil Downy Mildew (BDM) is the most troublesome disease of basil. It was discovered in 2007 in the United States after accidentally being introduced from Africa. The spores can be transported with contaminated seeds or soil and are dispersed by the wind. It infects plants during warm, humid, wet weather and the spores can persist in the soil for several years. It can be treated with fungicides, but that is not generally a good option considering you want to use your harvest for cooking. Sweet basil, the most popular variety of basil, is particularly susceptible to this disease.

Disease Resistant Basil Varieties

Fortunately for all of us, beginning in 2018 BDM resistant varieties of basil were introduced and are gradually making their way into local garden centers. I grew ‘Amazel’ last year (and again this year) and it lives up to its’ name. ‘Amazel’ is prolific and disease resistant. The flavor is more pungent and leaves are not as tender as other sweet basil, but it is excellent when used in sauces or for pesto.

Japanese Beetle

Japanese Beetles

Japanese beetles and slugs also like basil. Covering the plants with a row cover or micromesh in July while beetles are active is an easy and effective way to manage this problem and Sluggo is an organic, people and pet friendly way to manage slugs.

Cherry Tomatoes, Summer Vegetables

Tomato Growing Guide

As anyone who has ever experienced the delicious flavor of a tomato fresh from the vine will know, there is nothing quite as good as garden-grown tomatoes. It’s no surprise that tomatoes are America’s favorite homegrown food. While there are many varieties, and every veteran gardener has slightly different methods they swear by, you can easily be successful by understanding some of the basic needs of the plants. Whether you are new to gardening or a veteran, we’ve got your guide to the ins and outs of growing tomatoes at home.

Sowing and Planting

You can grow tomatoes from seed or starter plants in containers or in the ground. If you are starting in May, you will want to plant a starter plant. Whether you are growing in the ground or in a container on your balcony, you will want to plant your tomatoes in soil with added compost, lime and fertilizer. 

Each gardener has their own recipe, but lately I am a fan of Bumper Crop as it has all of these ingredients in one bag and is certified OMRI (Organic Materials Review Institute) organic. When planting in the ground, dig into and loosen the soil at a depth of 8 to 12″ and mix in a 1 to 2″ layer of Bumper Crop. When growing in pots, mix 80 to 90% potting mix with 10 to 20% Bumper Crop. 

Starting from seed? See our resources on starting seeds indoors and starting seeds outdoors. If you’re planting in containers, see our guide on planting tomato transplants in containers for more information on getting started. 

Sunlight

Tomatoes need a minimum of 5 hours of direct sun each day, but even more is better.

Water

Check the soil often and keep your tomatoes consistently moist throughout the growing season. If it feels like a moist or wet sponge, your plant has a good amount of water. Too much water can cause disease and will cause your tomatoes to crack. Too little water on the other hand reduces the quantity and quality of your tomatoes and can lead to blossom end rot.

Space and Support

Tomatoes are vines that continue growing throughout the entire summer. It’s not unusual to have tomato vines reach 8 to 10′ by the end of the season. Growing tomatoes in “cages” that help support the plant is one of the easiest and best ways to hold the plants upright, off the ground. You can also support the plants with stakes or on a trellis. A few varieties, such as ‘Celebrity’, ‘Rutgers’ and ‘Patio’ are smaller (determinate) plants that are good for limited spaces.

Growing Tips

While your plants are growing, there are a few tasks you will want to complete regularly as well as a few issues to keep an eye out for that commonly cause problems for tomato gardeners.

Fertilizer

 Apply Tomato Tone every 4-6 weeks throughout the growing season to keep your tomatoes fed with plenty of nutrients.

Pollination

Bumble bees are the primary pollinators of tomatoes, and you will need to attract them if you do not want to pollinate your plants by hand to ensure a good harvest. To bring the bees, plant zinnia, hyssop, portulaca and other flowers near your tomato plants.

Pest and Disease Prevention and Solutions

Fungal Diseases

Tomatoes are susceptible to several fungal diseases. Here are a few steps you can take to prevent your plants from becoming infected:

  • Place your tomatoes 3 to 4 feet apart, allowing plenty of room for good air circulation. 
  • Mulch around the base of your plants to prevent contact with the soil, where fungal diseases may reside.
  • Avoid prolonged periods of leaf wetness as it can promote infection and disease spread. You can do this by watering in the morning so that the sun dries the leaves, or by watering at the base of the plant so that the leaves do not get wet. 

Pests

Tomato hornworm, aphids and mites are the most common pests that can affect tomato plants. You can remove hornworms by hand and manage aphids and mites with insecticidal soap applied according to the package directions.

Tomato Hornworm, Pest

Remove Tomato Hornworm by hand.

Aphids

Use an insecticidal soap to deal with aphids.

Spider Mite Colony

Use an insecticidal soap to manage mites.

Squirrels, Chipmunks and Birds

A number of common garden critters love tomatoes, and will take a bite (or several) out of your plants. If they are getting more tomatoes than you are, consider picking them early, at the first sign of color, and let them ripen up indoors in safety.

ISTOCK Tomato

Vegetable Gardens in Small Spaces: Tomatoes

David Yost, Merrifield Plant Specialist

Tomatoes are one of the most popular fruits and vegetables among gardeners as they are both beautiful and delicious! Even if you have limited space, you can grow beautiful tomatoes with a container, adequate sunlight and a little planning.

Tomatoes can grow in a variety of conditions, but will produce the best fruit in a location with 6 to 8 hours of sun per day. Before you begin your tomato container garden, check your yard or patio at a few different times throughout the day to determine the best location for your plant.

Step one: Choose your tomato

You can grow just about any kind of tomato in a container if you are willing to work with vines that can reach 8 feet tall or more. I like to grow the Celebrity variety in containers for its hardiness, flavor and manageable size. ‘Celebrity’ typically grows to about 5 feet, making it a manageable choice.

Step two: Gather your supplies

Before you begin planting, you will want to make sure you have the following items:

  • Container: Your container should be a minimum of 16” in diameter for one tomato plant. With tomatoes, bigger is always better when it comes to containers. Today I’m using a plastic pot, but you can use almost any container as long as it has a hole in the bottom for drainage. You can also use an EarthBox, which has a sub-irrigated watering system that can increase time between watering.
  • Potting soil: We recommend using a lightweight potting soil, such as Pro Mix Organic Vegetable and Herb, for container-grown tomatoes. For one tomato plant in a 16” pot, you will need two 16 qt. bags of potting mix.
  • Small square of landscape fabric: Place this over the drainage hole in the bottom of the pot to prevent soil from escaping and keep your patio clean. This will also prevent critters from coming into the pot.
  • Tomato cage or other support structure: To keep your tomato contained within the pot, we recommend using a tomato cage or a plant stake to support the vine.
  • Fertilizer: I like to use an organic fertilizer, such as Espoma Tomato Tone, for my edible gardens. You can also use an inorganic, slow release granular, such as our Merrifield Flowering Plant Food or Osmocote.
  • Granular lime: I like to mix lime in with my tomatoes to prevent disease and boost growth.
  • Squirrel repellent: I have lots of squirrels in my yard so I use a squirrel repellant to discourage them from tampering with my tomato plant. I like the I Must Garden brand as it’s organic.
  • River jack stones or seminole chips: You’ll use these to cover the top of the container surface. This will protect your plants from squirrels and preventing dirt from washing out of the top of the pot.
  • Hand shovel
  • Gardening gloves
  • Watering wand and hose

Step three: Plant

Since your container can be heavy once its filled with the soil, we recommend setting the container in place before you plant your tomatoes.

  1. Place your piece of landscape fabric over the drainage hole in the bottom of the pot.
  2. Fill your container 2/3 of the way with potting soil.
  3. Add your fertilizer and lime to the potting soil and mix with your hand shovel. Be sure to follow the instructions on the label to determine the appropriate amount of fertilizer and lime to mix in.
  4. Add your tomato plant. Break up the roots and remove the bottom set of leaves before placing your plant in the pot. You can cover your tomato with soil all the way up to the second set of leaves.
  5. Top off the container with soil, but keep it an inch from the top of the container to keep it from spilling over the sides as you water.
  6. Place your tomato cage in the pot. You will want to do this right after planting to prevent the cage from damaging the root system of the tomato.
  7. Cover the surface of the soil with a half-of-an-inch of small river jacks or seminole chips.
  8. As an extra layer of protection, spray your tomato with squirrel repellent.

Step four: Water and nourish

Once your container is set, water it thoroughly. Run the water over your container, letting it drain out of the bottom. Tomato plants need to be watered frequently to maintain consistent moisture in the soil. The soil should not be allowed to dry out. During hot weather, you will likely need to water your tomato plant daily.

For the best tomatoes, we recommend feeding your plant every 2-4 weeks with fish emulsion.

Your plant will be ready to harvest later this summer, and will continue to produce fruit through the end of the season.

It’s Time to Plant Broccoli, Cabbage and Beets!

Peg Bier, Merrifield Plant Specialist

Planting fall vegetables makes me nostalgic for my childhood when I’d run around growing, harvesting, canning and preserving fresh vegetables. Even today I simply cannot be without them!

The end of August and early September is the best time to transplant fall vegetables from seedlings to the garden to harvest in October. This week I planted broccoli, cabbage and beets. Here are the steps you can follow to plant your own fall vegetable garden!

Prepare Your Soil

Fall-Veggie-Blog-1Fall-Veggie-Blog-2Clear away your finished summer vegetables in a sun to part-shade location. I planted these directly in the in-ground beds, but a raised bed or container garden would work just as well. Once your area is clear, add an organic planting mix to your existing soil. I recommend either the Coast of Main or Pro Mix Ultimate additives. Once your additive is mixed, sprinkle your fertilizer onto your prepared soil. Garden-tone Herb & Vegetable Food is one of my favorites.

Select Your Plants

It’s too late to begin from seeds at this point in the season so I’ve chosen to begin with young seedlings so they have time to produce fully before the October harvest. If you’ve started your own seeds already, bring them out to the garden now to transplant.

Fall-Veggie-Blog-3

Begin Planting

Dig your holes a few inches deep to create enough vertical space for your root ball to be in the ground, but your stems above ground. Gently loosen the outside roots, place your seedling and firmly press the soil around the roots.Fall-Veggie-Blog-4

One of my favorite parts of vegetable planting is that it’s not always necessary to have your ducks in a row! Feel free to tuck your vegetables in among your existing plants wherever you have space in your garden.

Once your plants are tucked into place, cover the soil with mulch to hold in moisture and prevent weeds. In my garden I used Virginia Fine pine mulch, about one inch deep. I then topped it with pine straw for an extra layer of protection and to tie into the aesthetic of the rest of my garden. I personally love working with pine straw because it’s lightweight and easy to lift and move around.

Fall-Veggie-Blog-5

Watering and Harvesting Your Vegetables

Once your plants are tucked in and topped with mulch, water them thoroughly. Be careful not to overwater. I check my plants every couple of days by peeling back the pine straw and mulch and feeling the soil. If the soil is dry, it’s time to thoroughly soak the new plantings again. While cabbage and broccoli need the warm weather to grow, they often attract moth larvae. If you run into any issues with moth larvae, treat the plantings with an organic spray, such as Thuricide.

How do you know when it’s time to harvest? Monitor the size of your cabbage and broccoli head to see when they’re ready. When they’re large and rich in color, cut the top off only as the plant will sometimes produce a side shoot. Your root veggies, such as your beets will show the top of their plantings at the surface when they’re ready to harvest.

Fall is the prime time to plant root and leafy vegetables, such as lettuce, kale, turnips, Brussel sprouts, carrots, parsnips, cauliflower, and onions.  Stay tuned as we enter the fall season and add the leafy and root vegetable compliments to our gardens!