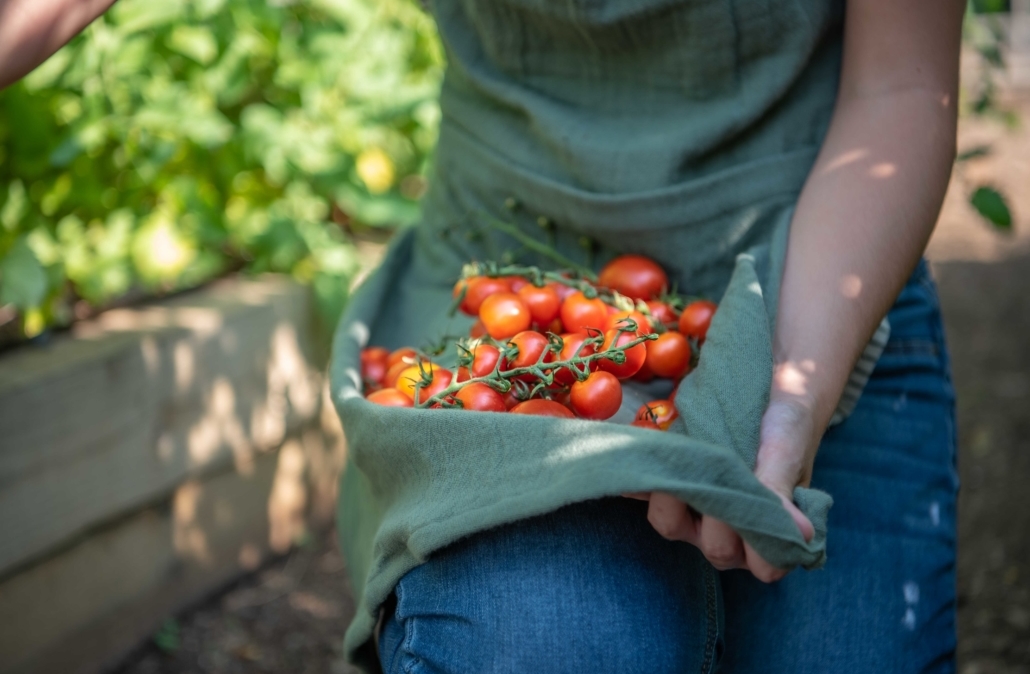
Tomatoes are some of the most popular vegetables to grow in containers, and for good reason. A single container-grown tomato plant can yield at least 40 large slicing tomatoes, or many more cherry tomatoes. You can roast them, can them, snack on them, add them to sandwiches and so much more. Here are some of the best tips for growing tomatoes in containers, from our Merrifield gardeners.
No matter what size your outdoor space is, growing vegetables in containers can be a convenient option. Containers offer portability, total control over the growing environment and the ability to change out your plantings with ease, at any time.
We recommend planting in large containers for your tomato plants. A 5 to 10 gallon container will be best for cherry tomatoes, and a 10 to 15 gallon container (or larger) for slicing tomatoes. Select a container with drainage holes to allow excess water to drain. You may find a lighter colored pot helps keep the soil cooler in the summer months, but you will need to check the plant daily for watering in hot weather, regardless.
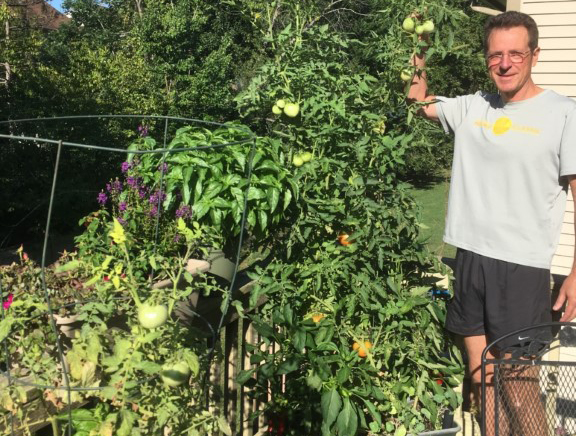
Tomatoes can grow up to 10’ tall, depending on the variety, so staking is essential to prevent your plants from breaking under their own weight, and to support their fruits. Be sure to place the stakes in either when you plant or before the plant gets too large to easily have a cage placed around it. Standard tomato cages do just fine in most containers, but there are lots of options to choose from, or you can DIY your own support with stakes, branches and garden string.
Your tomato plants will need direct sun for 6 to 8 hours a day. In the summer, when the temperatures get over 100°F, it is possible that your tomatoes will go dormant for a period of time. Don’t worry, when the temperatures drop, they will begin producing flowers and fruits again.
When you are watering, avoid wetting the foliage of your plants. Watering the leaves can cause problems like mildew, wilting or rotting. You will want to check your tomato daily to see if it needs water. To check on this, poke your finger into the soil about 1 to 2” deep and if the plant feels like it’s beginning to dry out, give it a good soak. In general, it’s best to water in the morning before the heat of the day. This provides time for any water that splashes onto the plant’s leaves to evaporate before the sun is at its highest point.
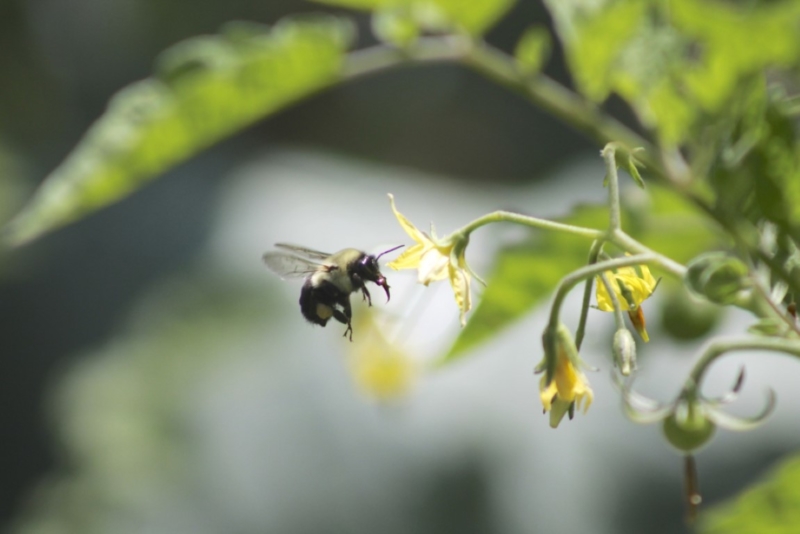
Your tomato plants will need pollination, with bumble bees being the most common pollinators to visit them. If you are not getting enough pollinators, you can use a q-tip or paint brush and carry the pollen from flower to flower manually. This is especially important if you’re growing in a greenhouse or other indoor conditions. Check with our plant specialists on the requirements for your specific varieties based on your growing environment.
If you added fertilizer when planting, you will want to wait 2-3 weeks before fertilizing again. At that point, you can begin to fertilize. We love Jack’s Classic Veggie Feed, which you can use once weekly. This is a water soluble plant food that, when diluted, adds helpful nutrients back into the soil. Water your tomato plant first, then apply the fertilizer. Always follow the application instructions on the package to determine the amount of plant food to use. Fertilize when temperatures are below 85°F.
As your tomato plant grows, suckers will emerge on the lower stems of your plant. You can remove these suckers to ensure that the energy of the plant is geared toward flower and fruit production. Pruning off the bottom foliage will push the plant to expend energy into fruit production.
One of the most issues we see in tomatoes is blossom end rot, which is usually caused by inconsistent watering. Blossom end rot is a calcium deficiency in the fruit and appears as a sunken, black leathery spot on the underside of the tomato fruits. You can prevent blossom end rot by keeping your plants on a consistent watering schedule and regularly fertilizing to make sure the plants have enough calcium.
If you encounter blossom end rot, remove the fruits affected and spray your plant with a blossom end rot spray like Bonide’s Rot-Stop Ready-to-Use Spray or Tomato & Blossom Set Spray.
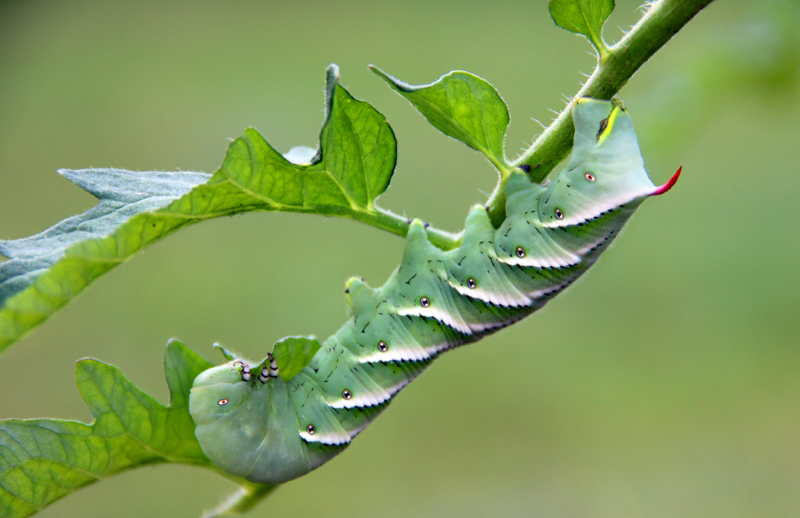
Tomato hornworm are the larvae form of the clearwing hawkmoth and can destroy a tomato plant very quickly by eating the leaves, flowers and eventually fruits. The most organic way to eliminate tomato hornworms is to pick them off with gloved hands and take them far away from your tomato plants. You can also take clean shears and cut off the foliage where you see the tomato hornworm and dispose of it far away from your plants. If you relocate them too closely to your plants, they will come back.
Jetstar tomatoes are medium-sized, red slicers that have a mild, slightly sweet taste. They are known to grow vigorously, up to 8’ tall at maturity. The plant will reach maturity at 70 to 75 days after planting. Expect up to 40 Jetstar tomatoes through the season.
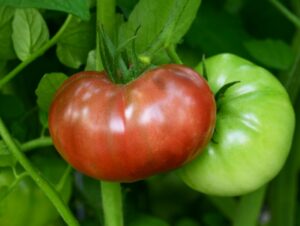
Cherokee carbon tomatoes are a purple tinted slicing tomato, like the Jetstar. They have a rich, smoky flavor and will grow up to 7’ tall at maturity. These tomatoes will reach maturity 75 to 85 days after planting. This variety will produce up to 40 fruits over the course of the season.
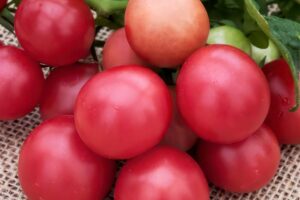
Rosy Finch cherry tomato plants are small and compact, only reaching about 24” tall at maturity around 55 days after planting. It is specifically bred for small spaces and containers. Because of its size, it typically won’t need supports like trellises or cages. This would be a great option for beginner gardeners.
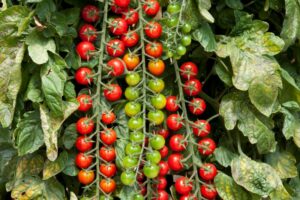
Rapunzel cherry tomatoes form long strings of clusters of tomatoes, the vines reaching 8’ long in length. They are sweet and tangy in taste. You can leave it trailing or train it vertically depending on the aesthetic you’re trying to achieve.