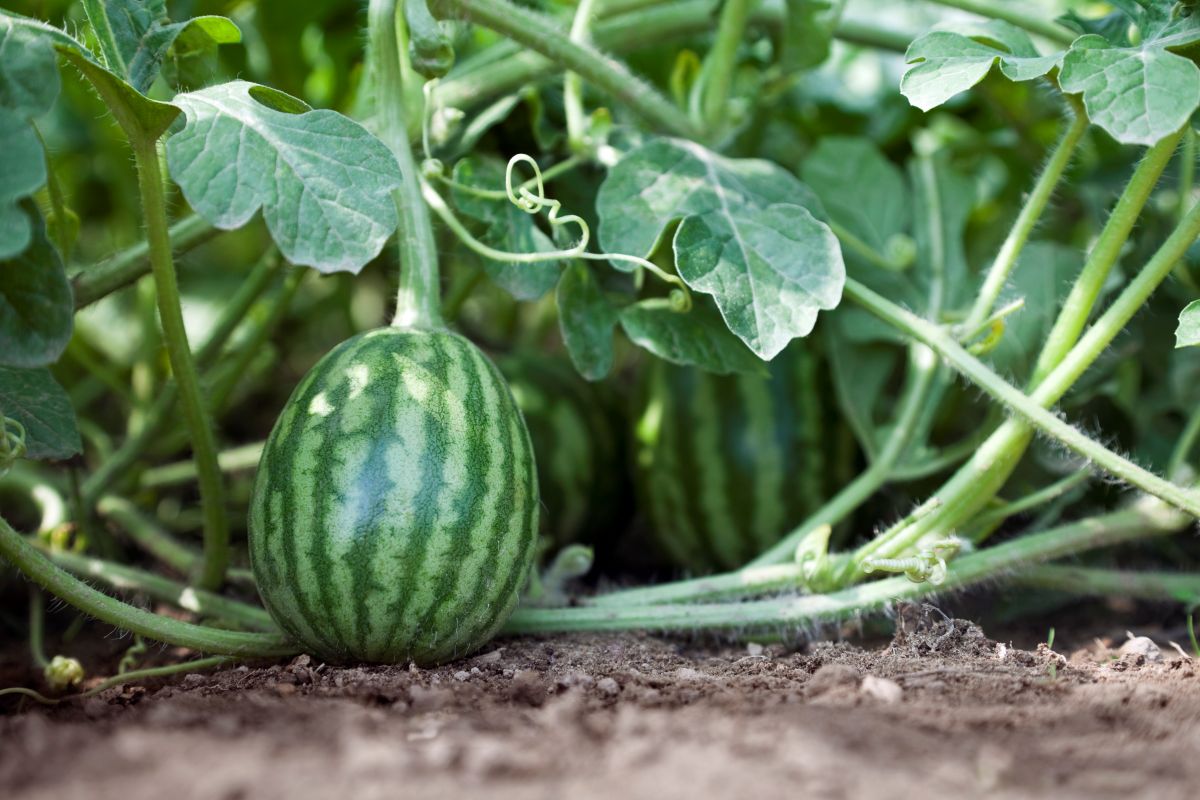
With their long vines and massive fruits, it may be hard to believe that you can successfully grow watermelons in containers! However, bush watermelons are more compact varieties that are bred to grow on short, bushy vines that thrive in pots. With our guide, you can try growing your own watermelons in containers at home.
For this project, we recommend growing the Sweet Cal watermelon, which produces vines up to 18 inches in length and up to 15 watermelons, each growing up to 12 lbs. in size. They mature in about 85-90 days.
No matter what size your outdoor space is, growing your fruits and vegetables in containers gives you the most convenience when watering, tending and harvesting. When you grow in containers, you have total control over the growing environment. You can build a soil base that will provide the optimum nutrients for watermelon.
We recommend planting in large containers for your watermelon plants. For your bush variety watermelons you will want a 10 to 15 gallon containers. Larger containers allow for stronger root systems and larger fruits. Select a container with drainage holes to allow excess water to drain from the pot.
You will be planting one watermelon plant per 10-15 gallon container, so you may want to use more than one pot for this project.
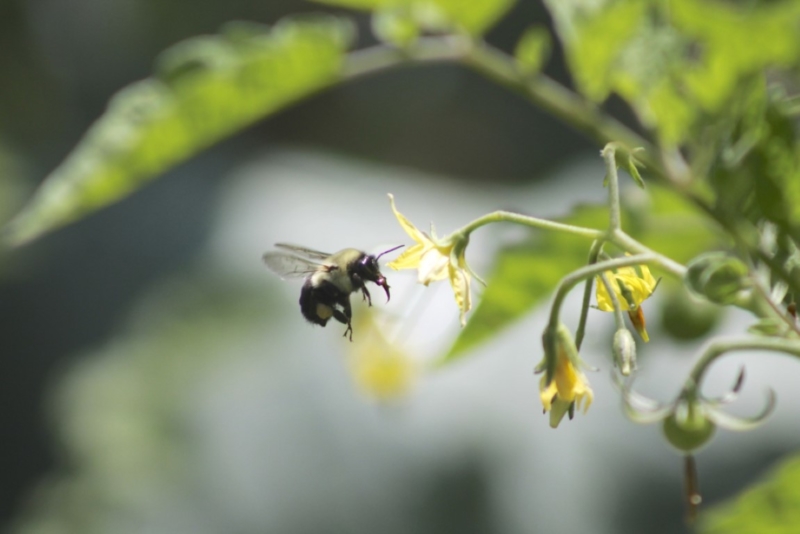
Your watermelon plants will need pollination, with bumble bees being the most common pollinators to visit them. If you are not getting enough pollinators, you can use a q-tip or paint brush and carry the pollen from flower to flower manually. This is especially important if you’re growing in a greenhouse or other indoor conditions. Check with our plant specialists on the requirements for your specific varieties based on your growing environment.
Watermelons need a higher phosphorus fertilizer to support their root structure and blooming. If you added fertilizer while planting your watermelon, after 2-3 weeks you can begin to fertilize with Jack’s Classic Veggie Feed once a week. This is a water soluble plant food that, when diluted, adds helpful nutrients back into the soil. Water your bush watermelon plant first, then apply the diluted fertilizer. Always follow the application instructions on the package to determine the amount of plant food to use. We suggest fertilizing when the temperatures are below 85°F, typically in the morning.
When you are watering, use a watering wand to direct the water over the soil rather than over the watermelon’s foliage. This helps to prevent mildew, wilting and rotting.
Check your watermelon plants for moisture every day, especially during the extreme heat in summertime. Poke your finger into the soil about 1 to 2” deep and if the plant feels like it’s beginning to dry out, give it a good soak. In general, we recommend watering in the morning before the heat of the day. This provides time for any water on the plant’s leaves to evaporate before the sun is at its highest point.
Powdery mildew is the primary issue to look out for when growing watermelon. It manifests on the leaves of your watermelon plant, leaving behind a dusty white powder that resembles talcum powder or flour. If you see this on your plant, you can apply Copper or Sulfur Fungicide. Mix the product according to package instructions with water in a handheld or pump sprayer and spray it evenly across the plant, focusing on the tops and bottoms of the leaves. Wear long sleeves, plants, gloves and a mask while you apply these natural fungicides. Make sure to keep your kids and pets away from the area for 6 to 8 hours when the product has dried.
You can either let your watermelons trail or trellis them; however, watermelons sitting on the ground face greater risks of developing rot or being eaten by local wildlife. If you can keep your melons trellised or staked, you will find a greater level of success in your harvest. You can use a sling placed underneath the melon for support so that it doesn’t fall, and can ripen on the vine. Some gardeners use pantyhose as makeshift slings.