Imagine your grandmother has baked the most delicious tomato tart for a crisp fall day, and you must have recipe! What is her secret to creating this perfect fall dish? She tells you that her secret is the heirloom tomatoes from her garden. You suddenly want these exact tomatoes, but she has been growing them so long, she can’t remember the name, or where she got them.
You can still grow these tomatoes, by using seeds from any leftover ripe tomatoes in her garden. You and your grandmother head outside to find some ripe tomatoes. Tomatoes seeds can be a little tricky to save and store, but our guide to saving these seeds as well as other vegetable and flower seeds, will help you continue growing your Grandmother’s tomatoes (or many other vegetables) season after season.
Saving Tomato Seeds
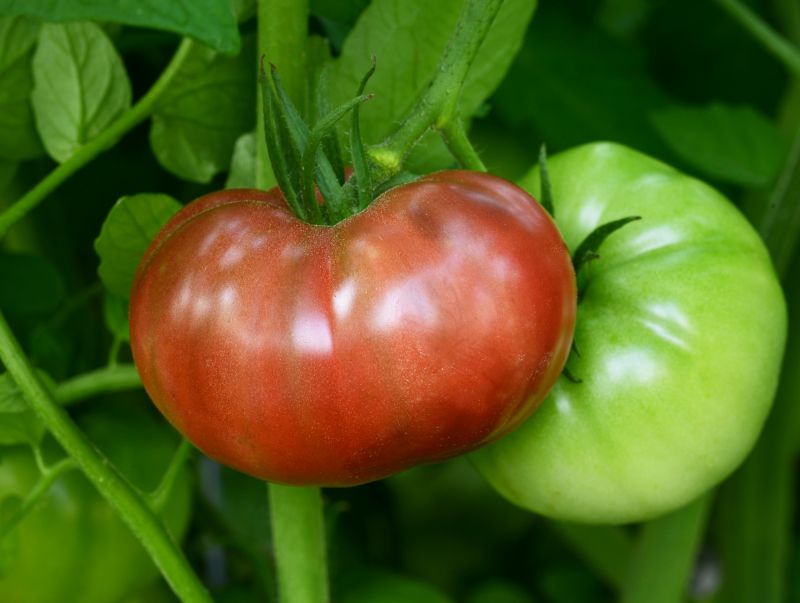
Step One: Pick a mature tomato with some beautiful red coloring off the vine or stem of your heirloom variety plant that you wish to grow in your own garden.
Step Two: Cut your tomato in half and scoop out the seeds and pulp from the interior.
Step Three: Open a glass jar you may have on hand and add water until it is halfway full. Cover it with its corresponding lid and shake your jar and seed/pulp mix.
Step Four: The seeds must now be left to ferment out of direct sunlight. This will take about a week. Don’t be afraid of the smell. This is common during the process of fermentation. It will help to remove the gel surrounding each seed which affects germination and may contain pathogens that will hurt the viability of your seeds.
Step 5: Gently shake your jar two to three times per day for about a week.
Step 6: When you see the seeds sinking to the bottom of the jar, open your jar and use a spoon to scoop out the gel-like substance on the top. There may be seeds at the top; these are not viable. Remove them, too.
Step 7: Strain your seeds using a fine-mesh strainer.
Step 8: Take a plate or baking sheet lined with paper towels and move your seeds there to dry out completely.
Step 9: You will know that your seeds are dry when they are brittle and do not bend when you try to cut them. Take your seeds and put them into an envelope, making sure to label them with their corresponding name and also include the date when you packed them. Then, put this envelope into airtight containers such as your cleaned out mason jar, tins or tupperware containers that are well-sealed.
Step 10: Keep your tomato seeds in a cool, dark and dry spot until they are ready to be planted next year. Kitchen cabinets are fine, as well as refrigerators or freezers. In the colder environments, it is even more important to store your seeds in airtight containers to avoid too much humidity.
Saving Other Vegetable Seeds
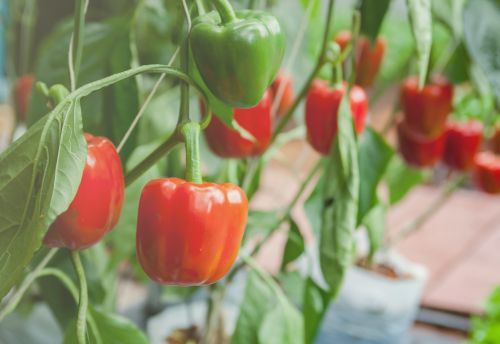
Many other vegetable seeds can be saved more easily than tomatoes. Beans, okra, peppers, pumpkins and squash can all be saved without the fermentation process required for tomatoes.
Step 1: Wait until your chosen vegetable is fully ripe, then pick it off the plant and bring it inside.
Step 2: Cut off the top and cut it in half, exposing the seeds within. Remove these and lay them out on your countertop over some paper towels. Leave them for a day or two to make sure they are completely dry. If they are brittle and do not bend when you try to cut them, they are ready for storage.
Step 3: Put them in an envelope and right into an airtight container and place them in an area of the home that is cool and dark, like a kitchen cabinet or in your refrigerator or freezer.
Don’t forget to label your containers with the name of the plant and the date you harvested them! They will be ready to use when you plant your vegetables later.
Saving Flower Seeds
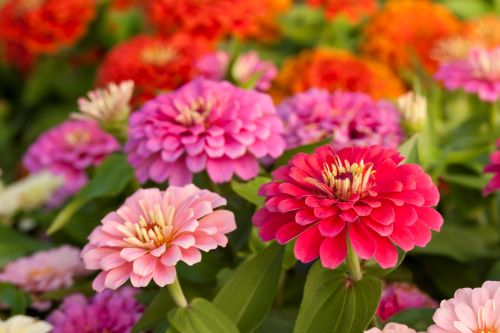
If your grandmother also has certain varieties of flowering plants that are harder to find than common varieties, you might also want to save seeds from these, too. Some flowers that are easy to harvest seeds from include calendula, marigolds, morning glory, nasturtium, and zinnias.
Step 1: Find flower heads that have become dry on the plant and harvest these. If there are none, you can cut some mature blooms and hang them in your home upside down in a cool, dark area where they can dry out.
Step 2: Once everything is dry enough, you can either pick the seeds out of the heads or shake them out onto a few pieces of paper towel and allow them to dry out completely. Once they are dry, it’s time for storage. You’ll know if they are dry enough when you can cut into them and they do not bend.
Step 3: Place your dried seeds into an envelope and then into an airtight container. Put the vessel into a cool, dark area of your home or in a refrigerator or freezer. Make sure you label the container with the plant name and the date you stored them.